Incorporate a New Company
Learn how to incorporate your new Singapore company.
The Incorporate a New Company service request enables you to incorporate your new Singapore company.
This request is usually initiated automatically upon registration or can be started from New Request page.
Video Tutorial
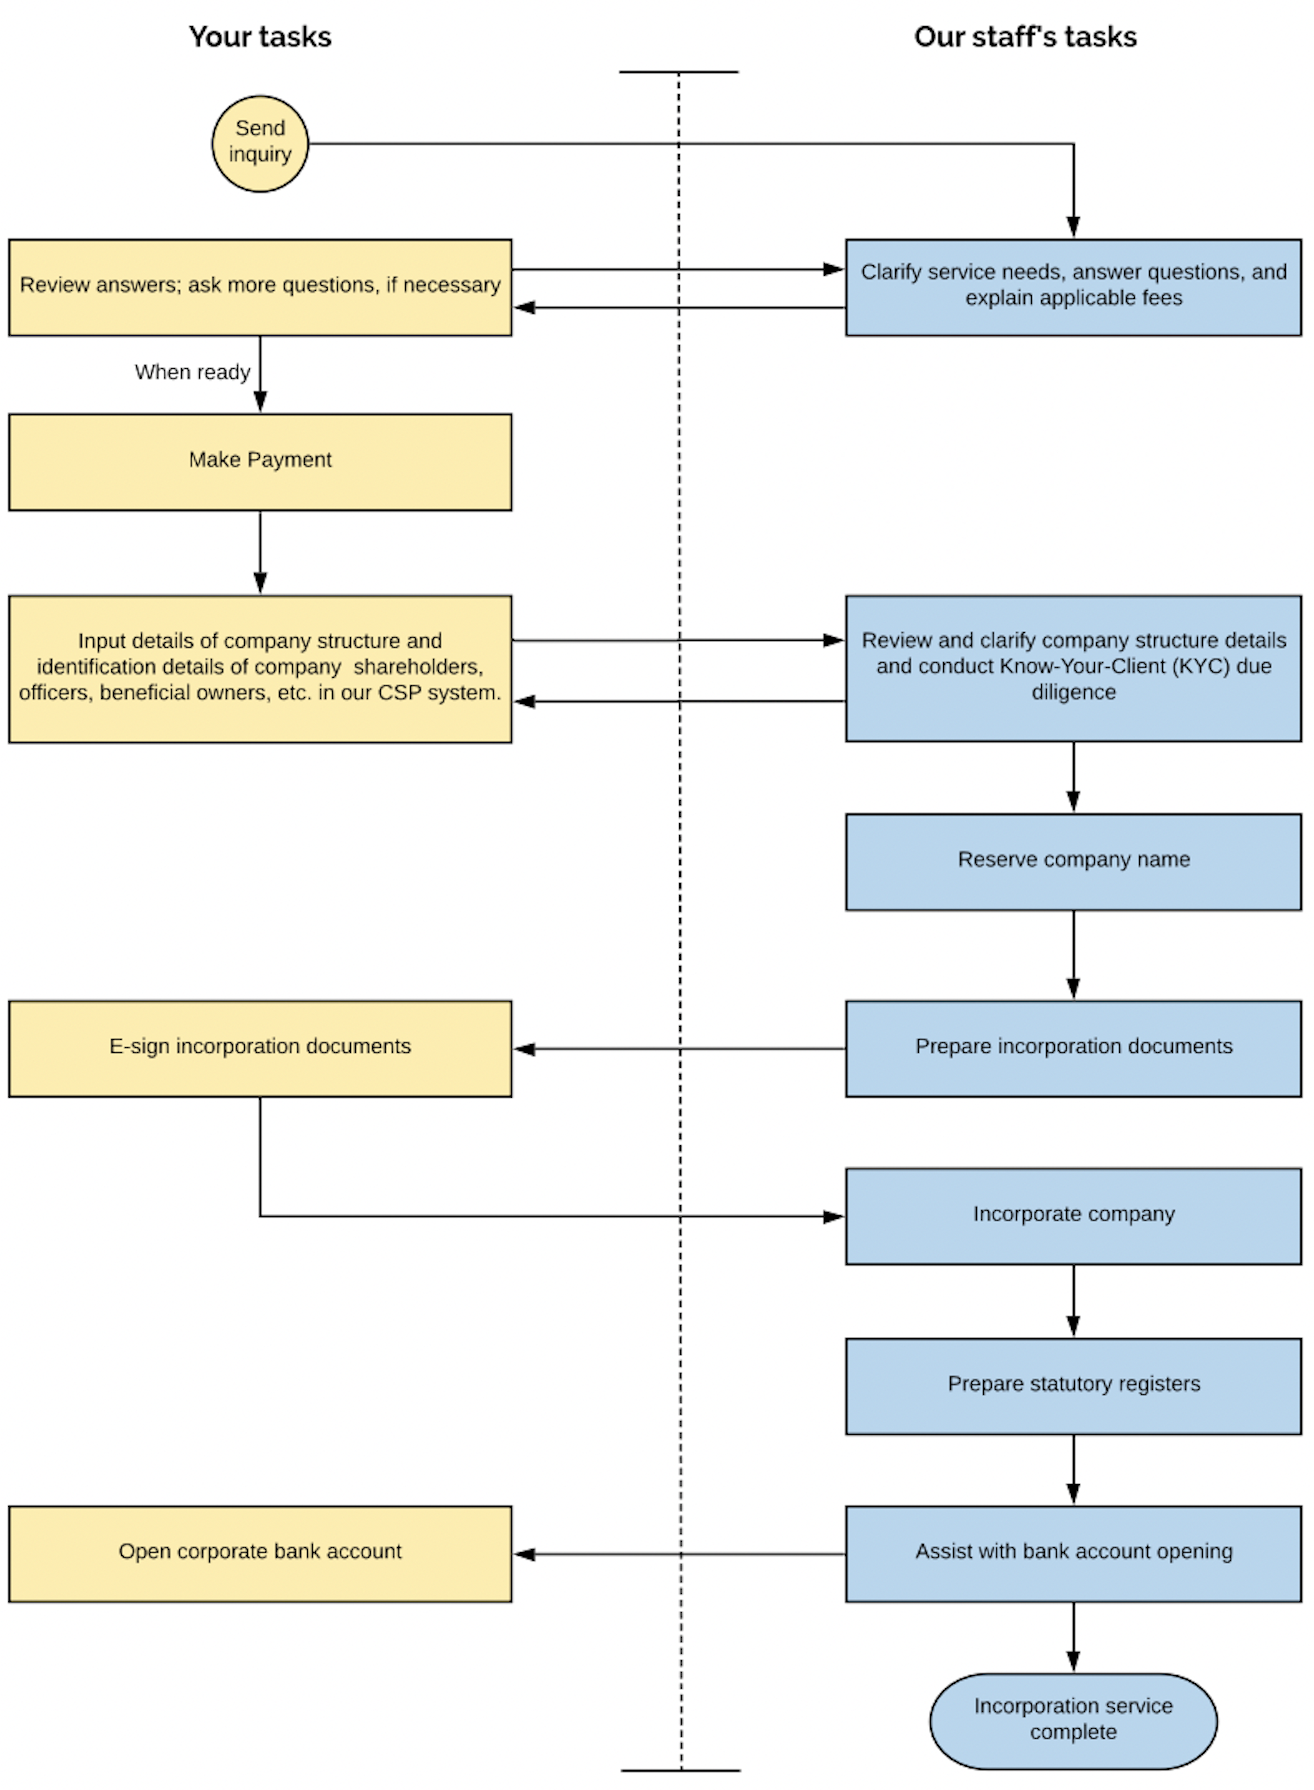
Graph of Incorporation Process
Step-by-step Instructions
- Submit Inquiry Step - You will send an inquiry;
- Staff Review Step - Our staff will clarify service needs, answer questions, and explain applicable fees;
- Client Review Step - You will review answers. And ask more questions, if necessary;
- Complete Payment - When ready, you will make a payment;
- Prepare KYC Summary step - Our staff will prepare KYC Summary documents;
- Sign KYC Summary step - You will e-sign KYC Summary documents;
- Review Signed KYC Summary step - Our staff will review documents that you sign;
- Apply for Company Name Step - Our staff will reserve company name;
- Provide Clarifications - You will clarify additional information, if necessary;
- Prepare Incorporation Documents Step - Our staff will prepare incorporation documents;
- Sign Incorporation Documents Step - You will e-sign incorporation documents;
- Review Signed Documents Step - Our staff will review documents that you sign;
- Incorporation in Progress Step - Our staff will complete company incorporation;
- Prepare EGM Documents Step - Our staff will prepare statutory registers;
- Sign EGM Documents Step- You will e-sign EGM documents;
- Review Signed EGM Documents Step - Our staff will review documents that you sign;
- Obtain Internal Signatures Step - Our staff will complete necessary internal signing;
- Close Workflow Step - Incorporation will be completed;
- What Happens Next? - further steps;
Submit Inquiry Step
In this step, you tell us your needs and the specific options you want to select while incorporating a company in Singapore. After you provide the information in the service request form and submit it, expect our reply within 1-2 working hours.
The Service Request Form shows the following sections.
Instructions
The Instructions section will guide you on what is required from you at each step of the service request.
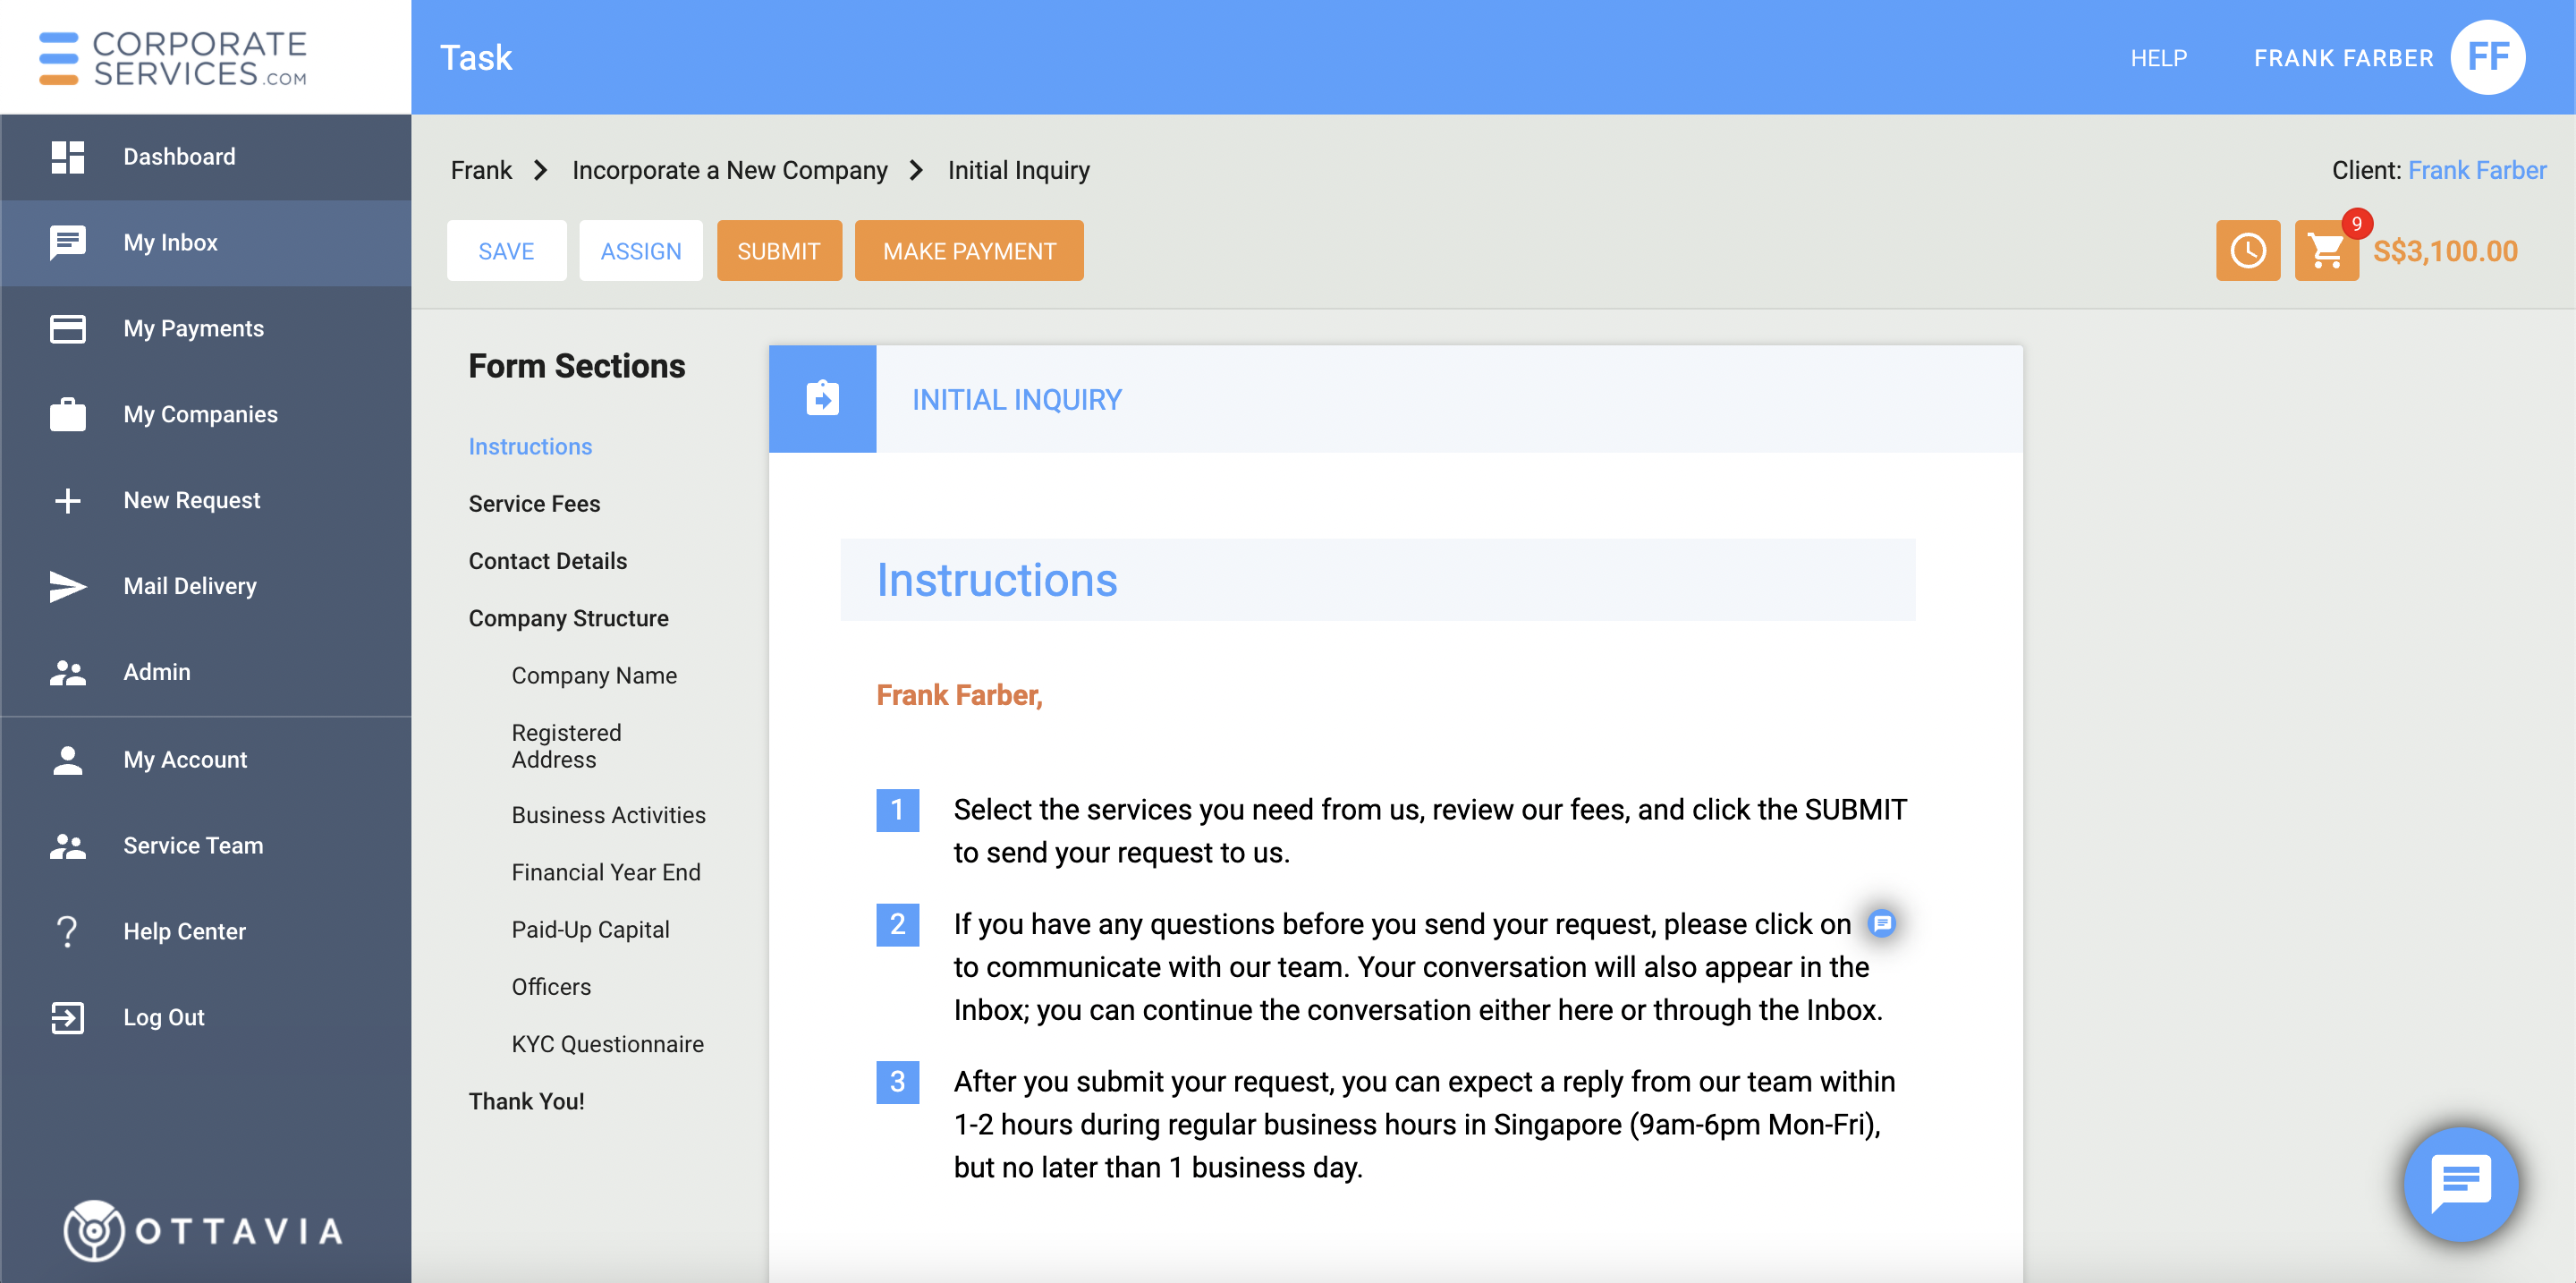
Have Questions?If you have any questions about this service request, you can exchange messages with the CSP staff using the
icon. The staff member will review and respond to your questions. Read more on how to Communicating with Service Team
Select Services Section
The Select Services section shows you the list of standard services related to company incorporation. Click on the switch to the right of the name of the service to select or unselect it.
In some cases, this section can be unavailable. If you need to change selected services, you can contact Service Team
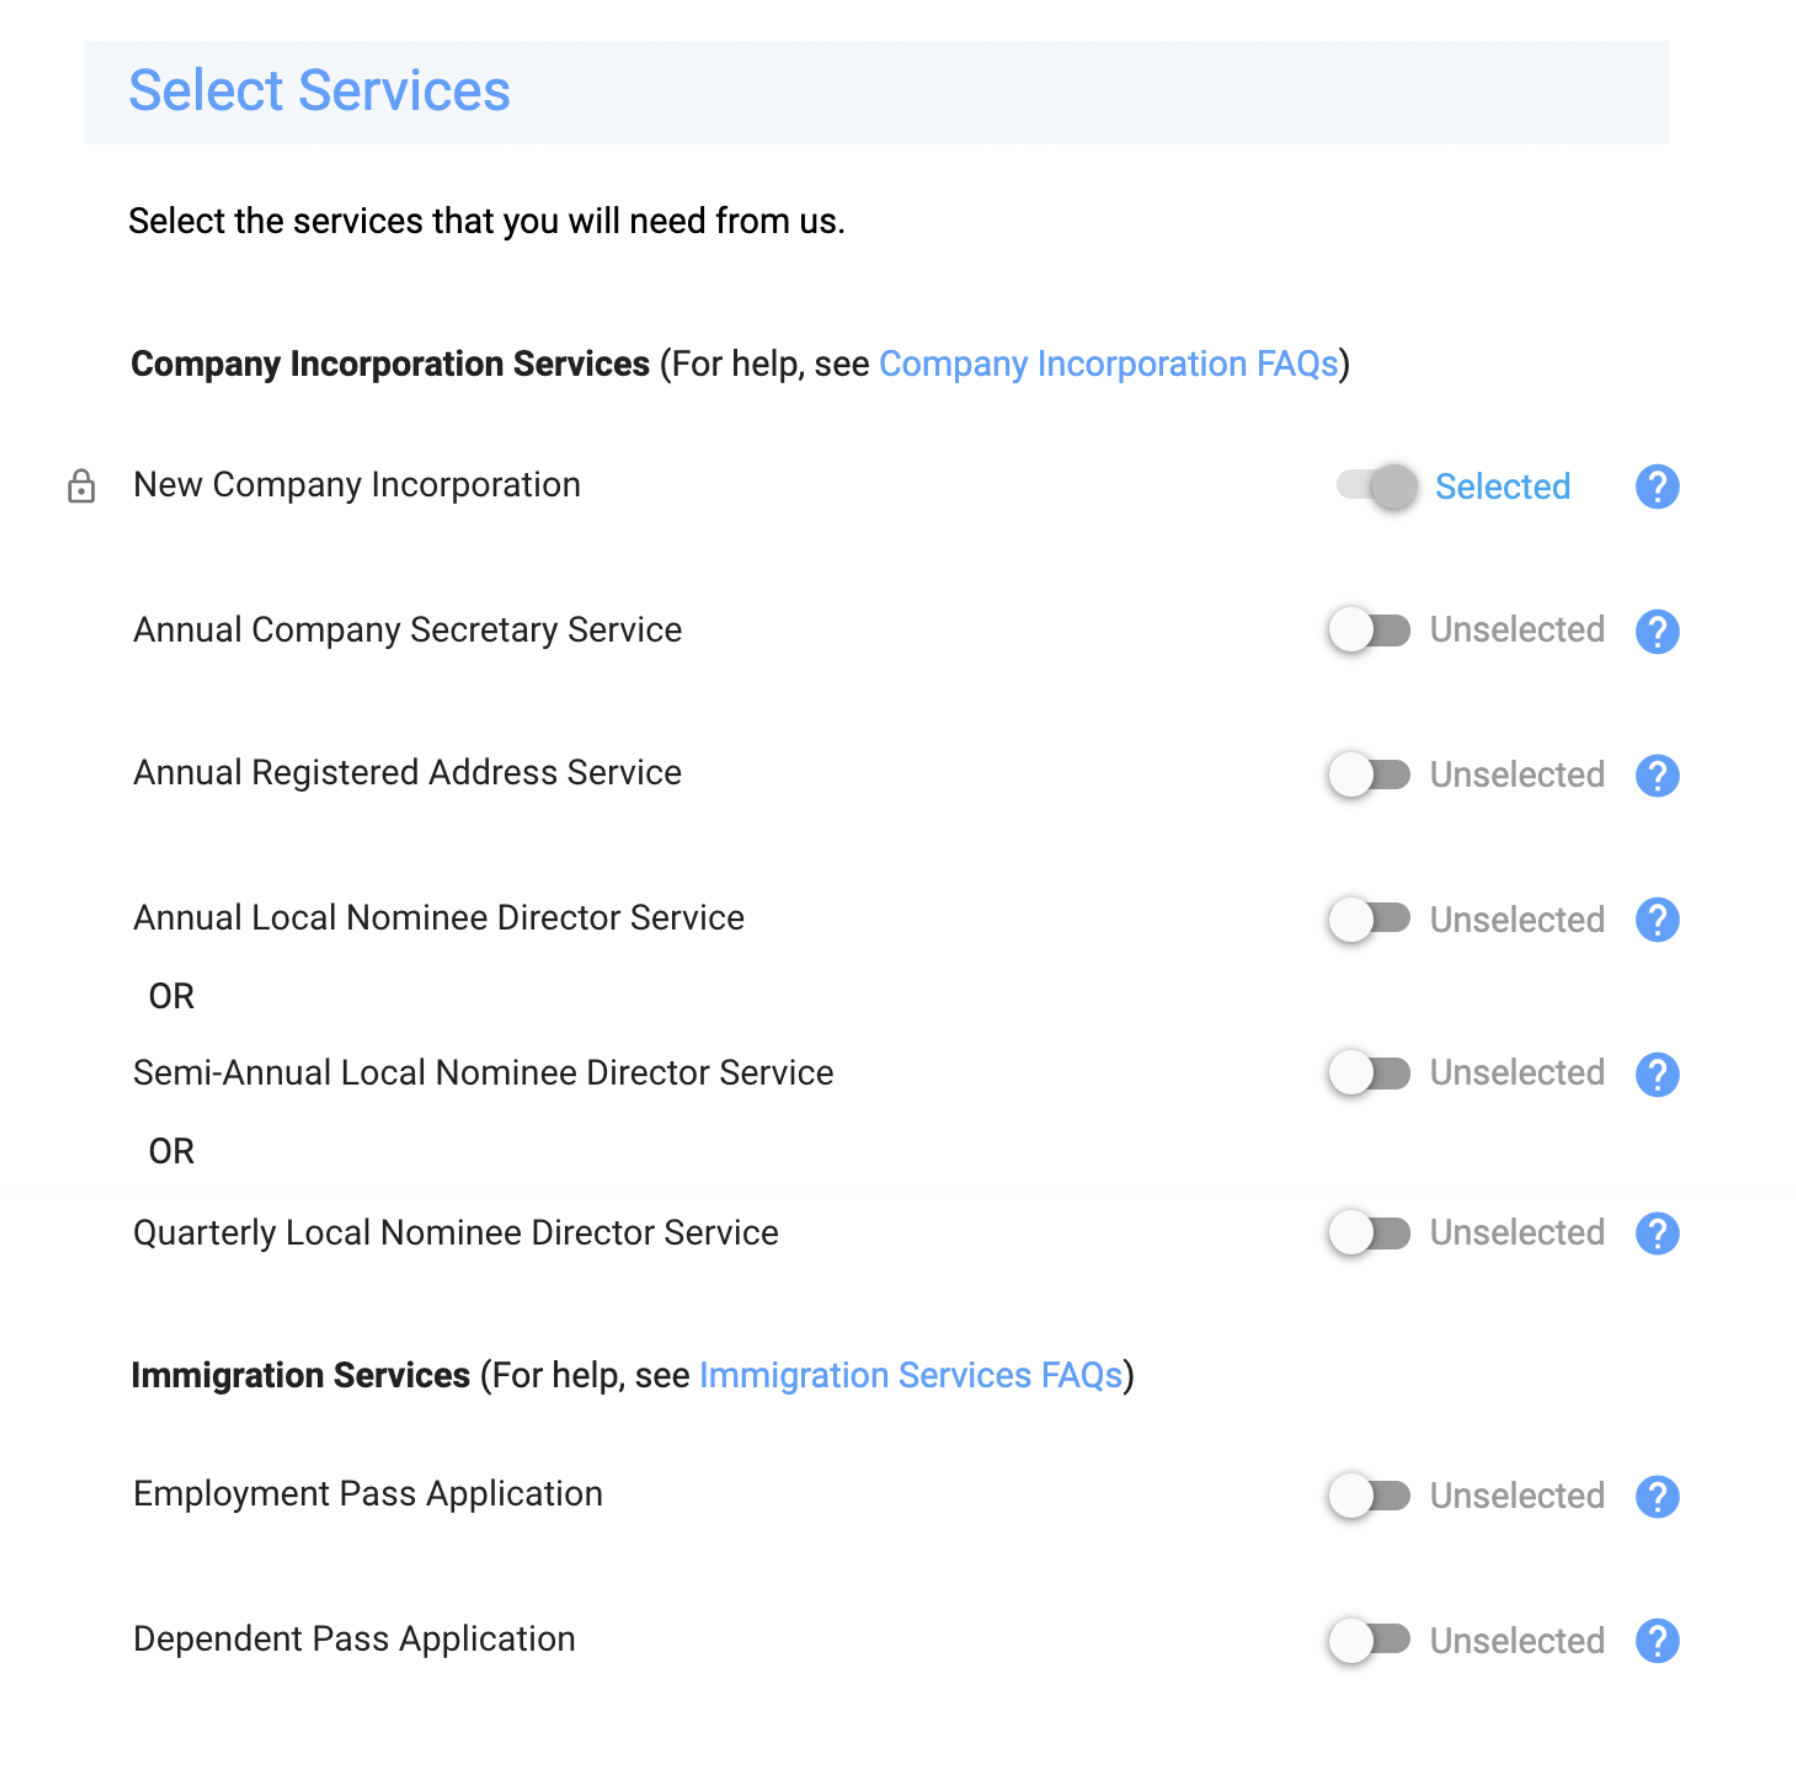
To learn more about a specific service, click on the question mark icon to the right of each option. A popup with additional information about that service will appear.
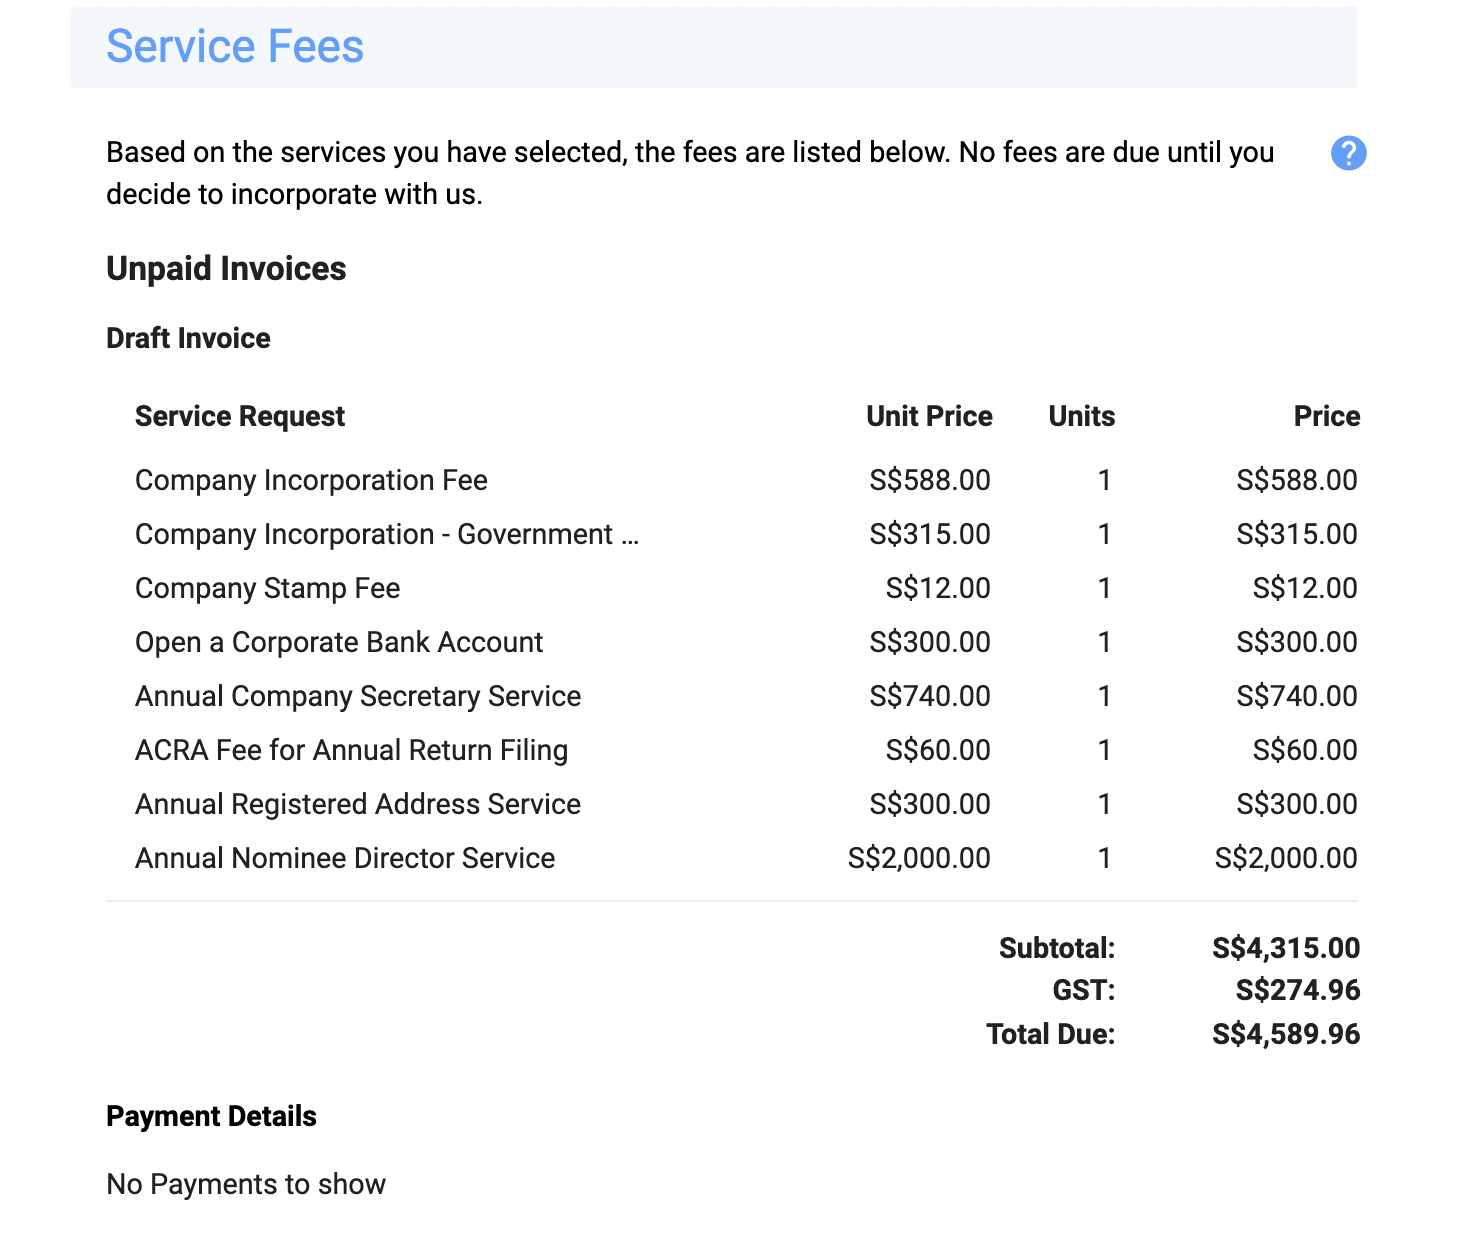
Service Fees Section
As you make your selections, the Service Fees section will be updated based on your choices.
Fees shown in the figure below are for illustrationThe fees shown below are for illustration and do not reflect the actual fees that may be applicable in your case. The fees for your request will depend on the services you select in the Select Services section above. To learn more about the fees for various services available on CSP, please read the article on Pricing of Services.
Contact Details Section
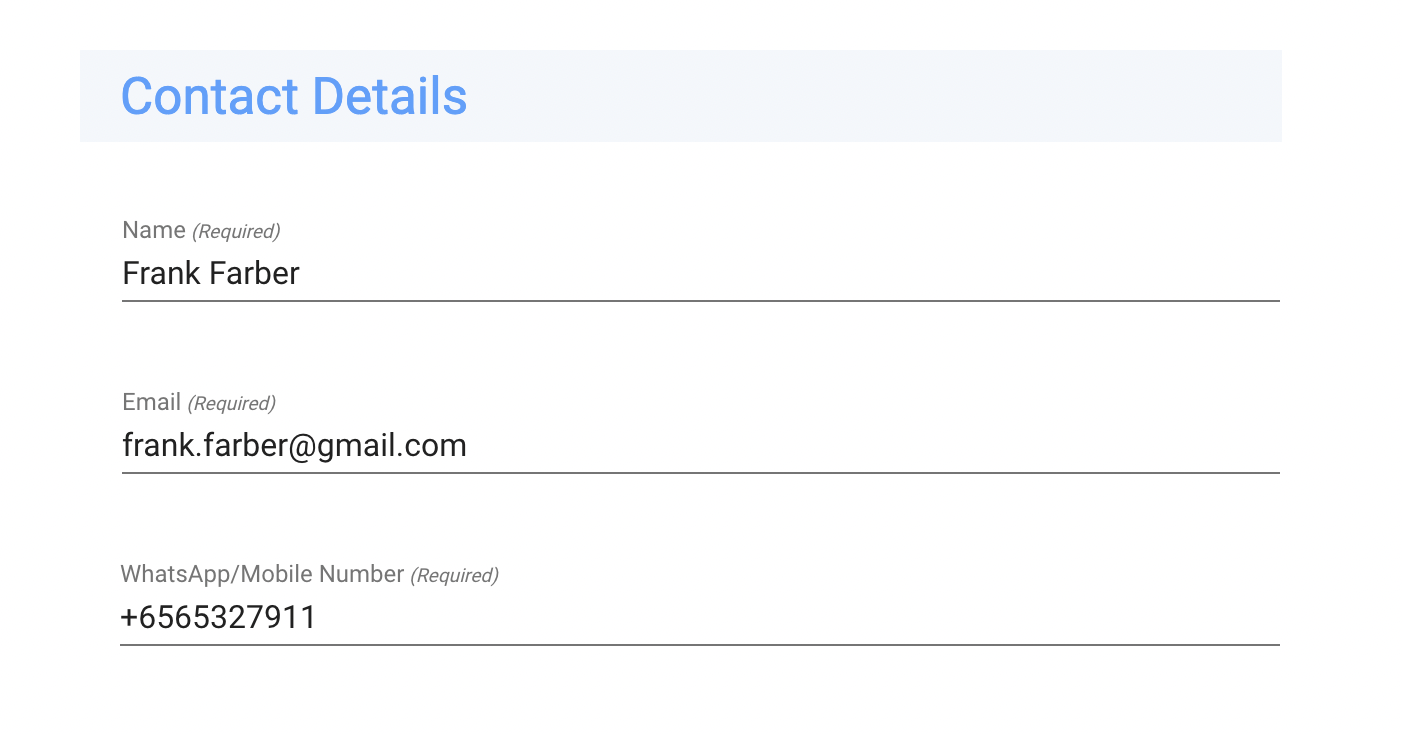
Your User information is automatically displayed in the Contact Details section. We may use them to get in touch with you, if necessary. You can change your name, Mobile number, and email on the My Profile page.
Staff Attachments
The staff member may attach additional documents for your reference or examples of files you need to provide. These files will be displayed in the Staff Attachments section. To view any file in your browser, simply click on its name.

Client Attachments
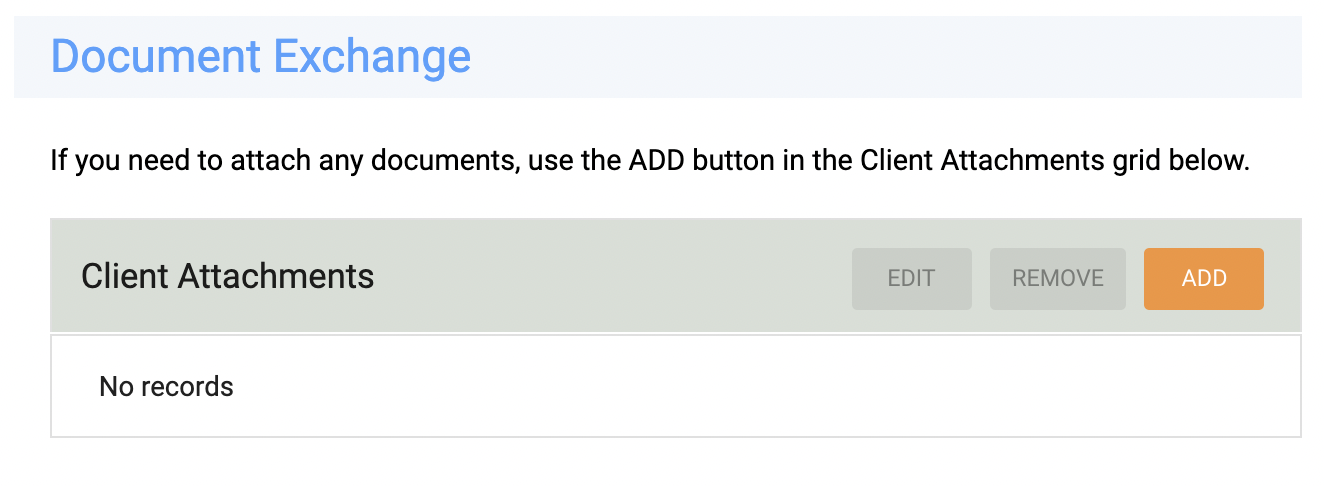
If you are required to upload a file, you will see a Client Attachment section.
Company Structure
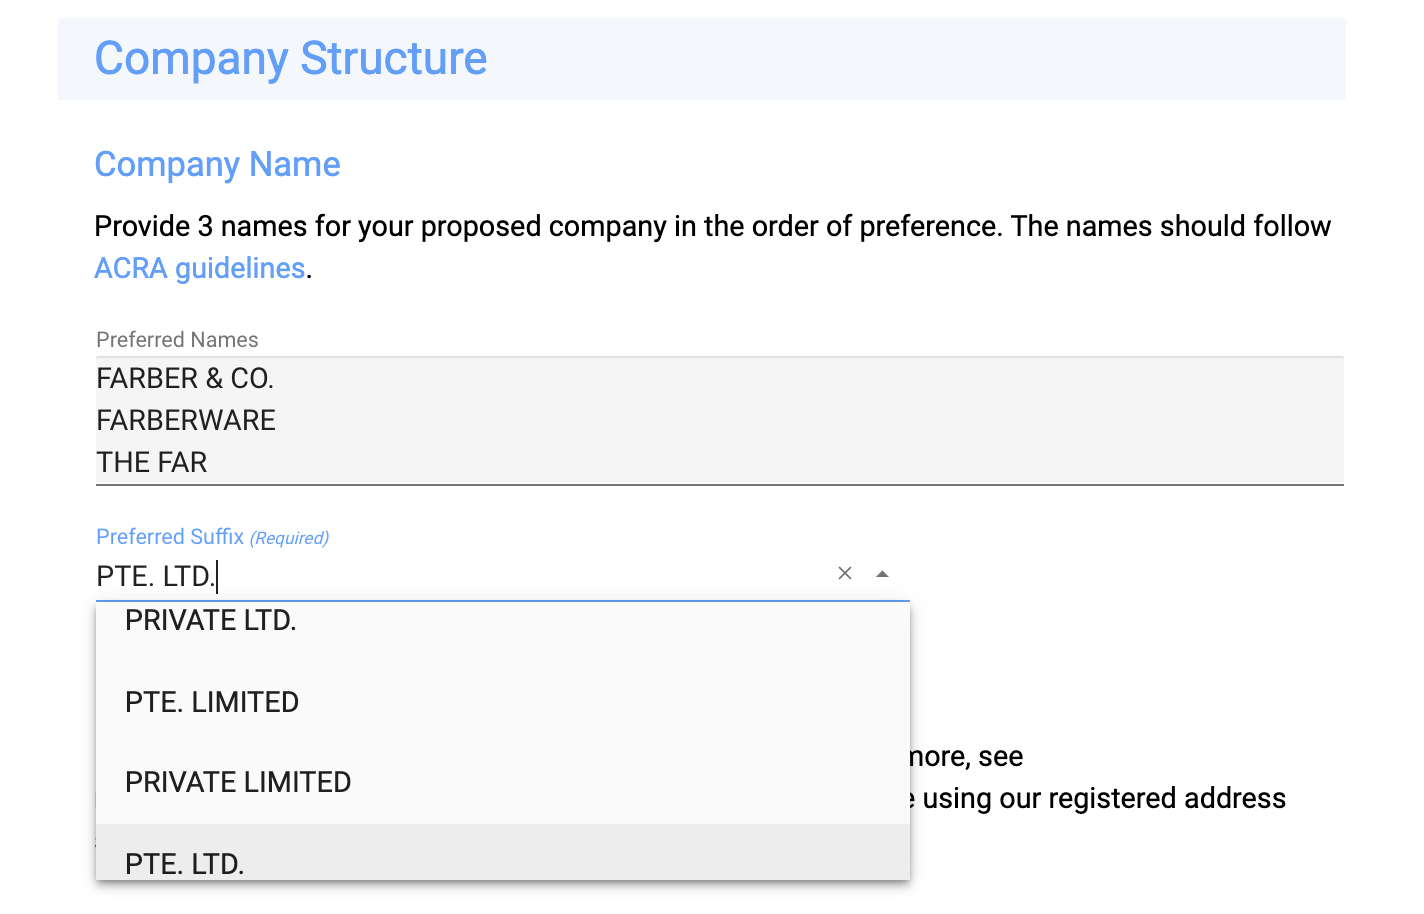
Company Name. Provide up to three names for your proposed company in the order of preference. We will apply for your company's name with ACRA in the order they are listed.
Each Singapore company is required to have a prefix in its name. Select the Preferred Suffix for your company from the options provided.
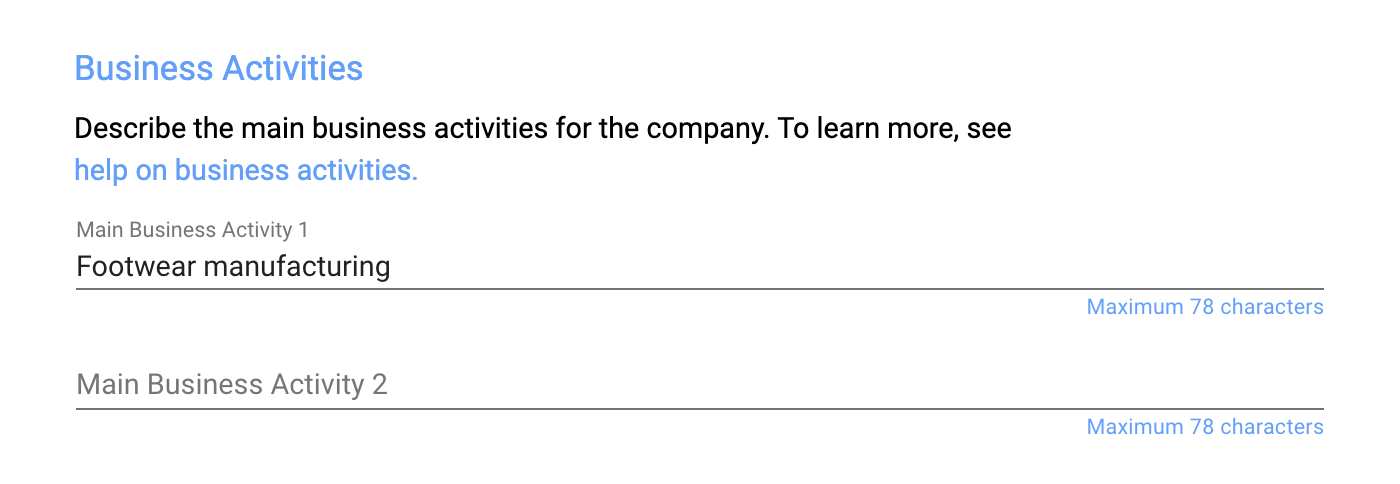
List the main Business Activities of your proposed company. Check our Guide on Selecting the Right SSIC Code.
Select the date for the Financial Year End for your company. Check our Guide on Choosing the Financial-Year-End Date.

Your company will be created with the standard share capital as shown on the form. If you want to change this information, select the existing row and click the EDIT button. Check the Share Capital Requirements in Singapore.
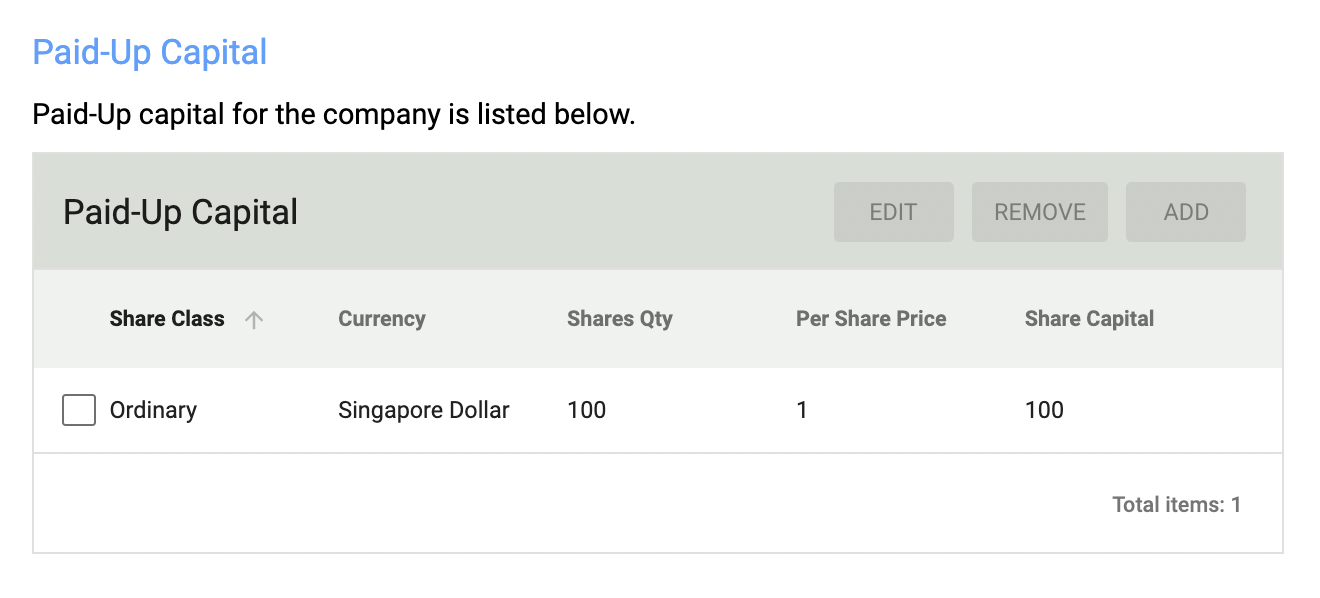
The system will show you the paid-up capital information.
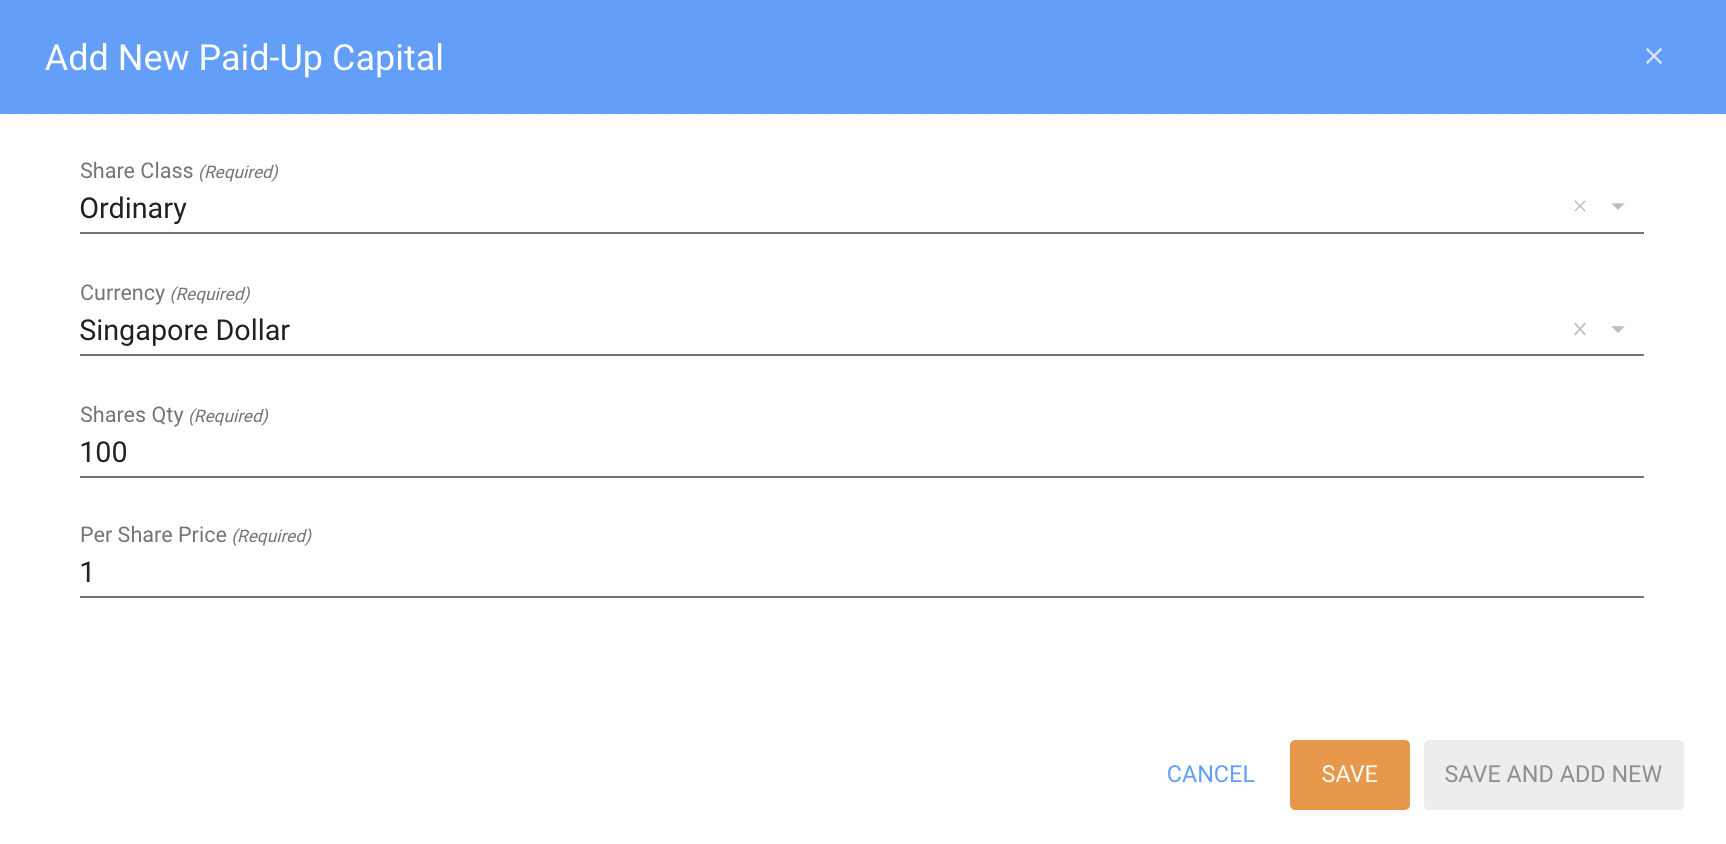
You can change the Share Class, Currency, Share Qty, and Per Share Price on this screen.
The Share Class Name and Share Capital fields will be automatically updated based on the information you enter.
You can also increase the share capital of your company after the company is incorporated.
The Shareholders, Directors, Controllers section provides details of all shareholders, directors, and controllers of your company. If the proposed company has a corporate parent, give the details of the parent company and the corporate representative in this section.
To add a record, click the ADD button. To edit an existing record, select the row and click the EDIT button.
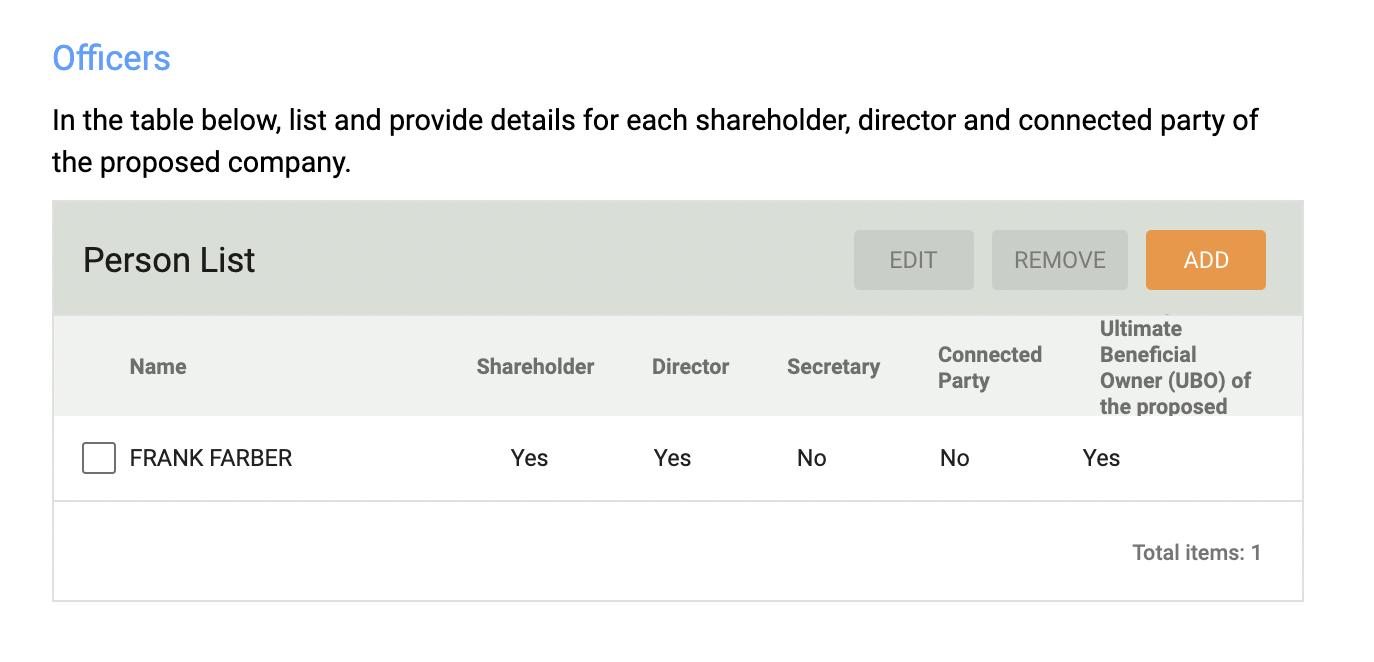
You can add or edit the information about each person in the Person Record window.
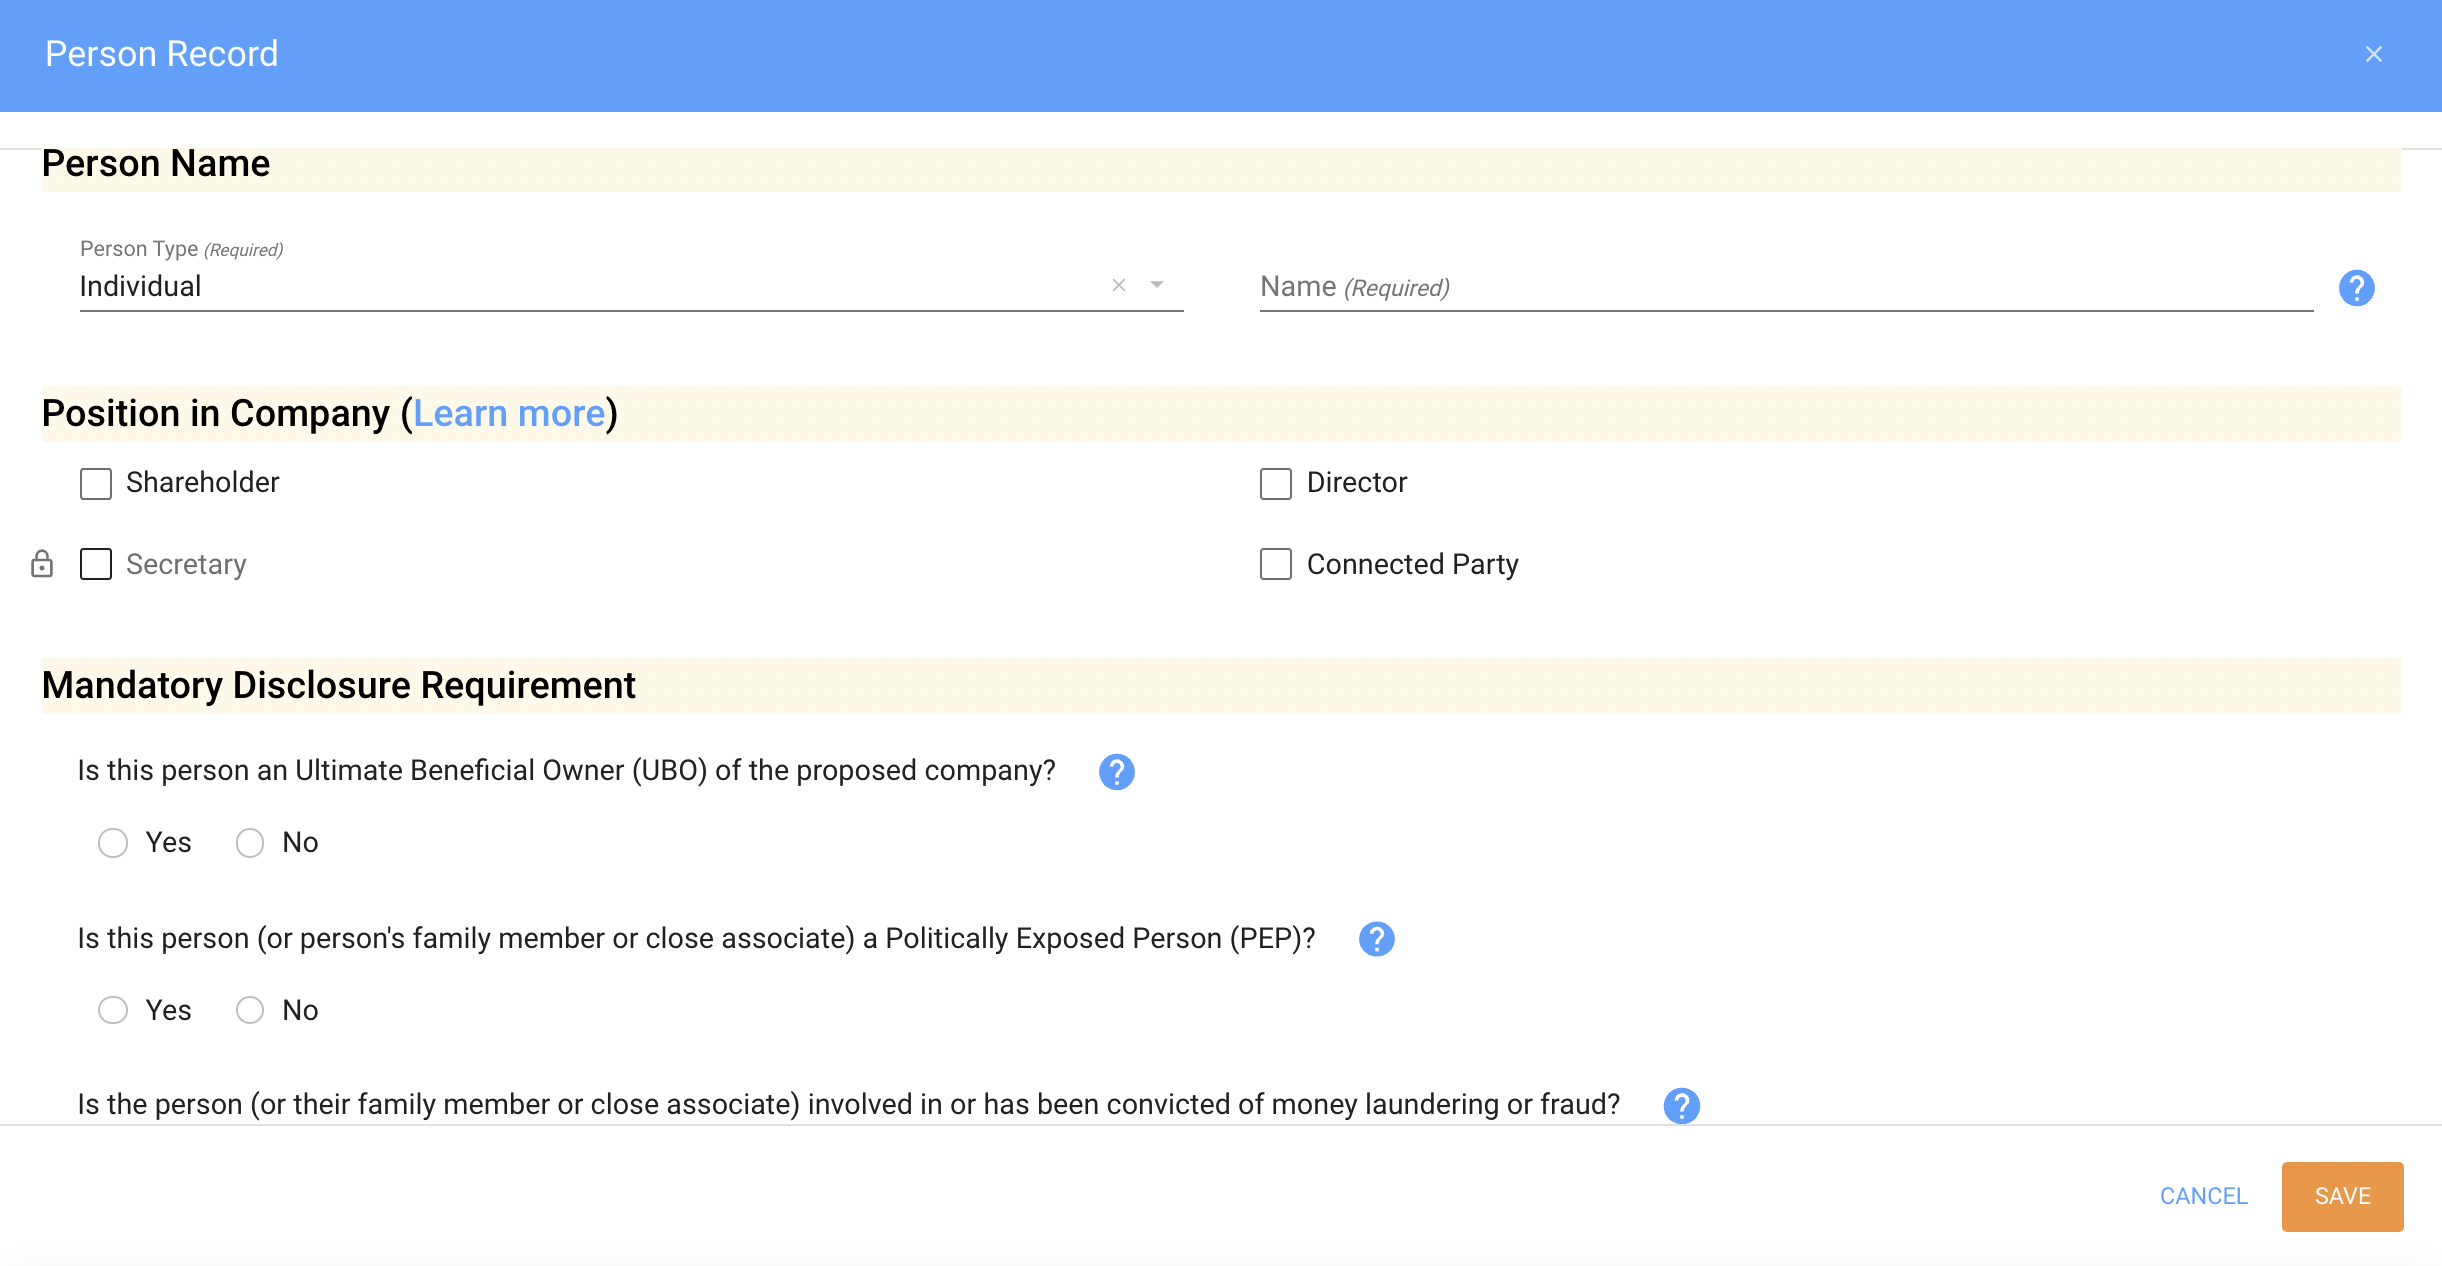
Provide the information requested for each person or company that is associated with your proposed company.
To complete the Know-Your-Client question list for your company, select the existing row and click the EDIT button.
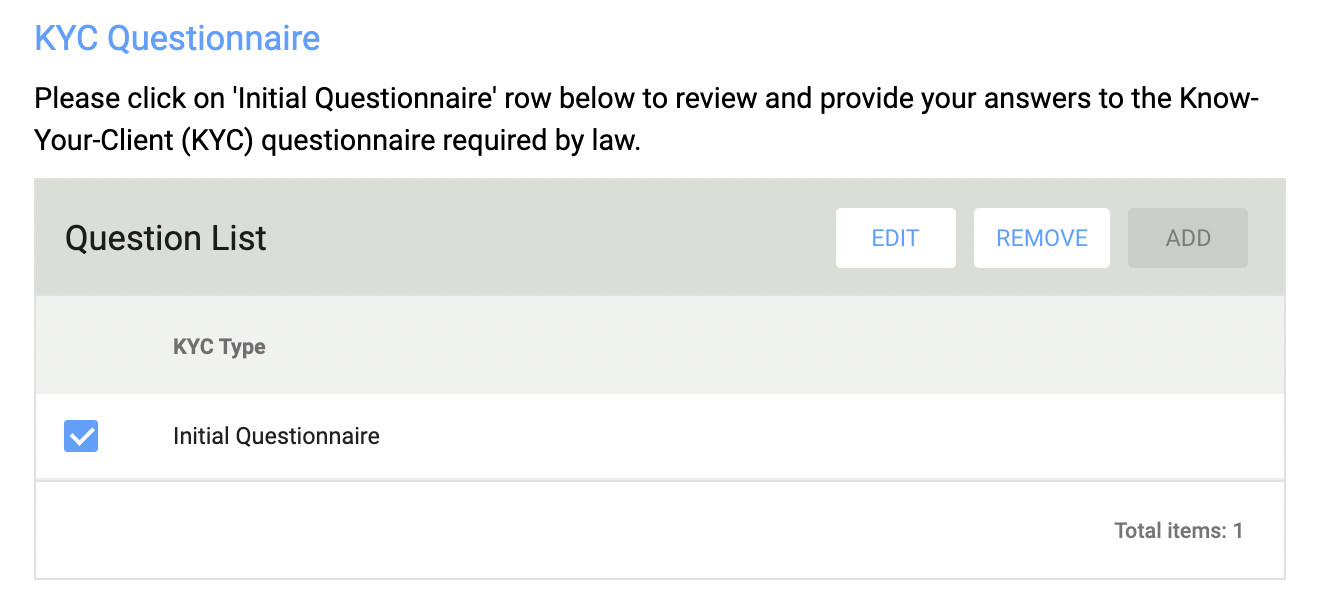
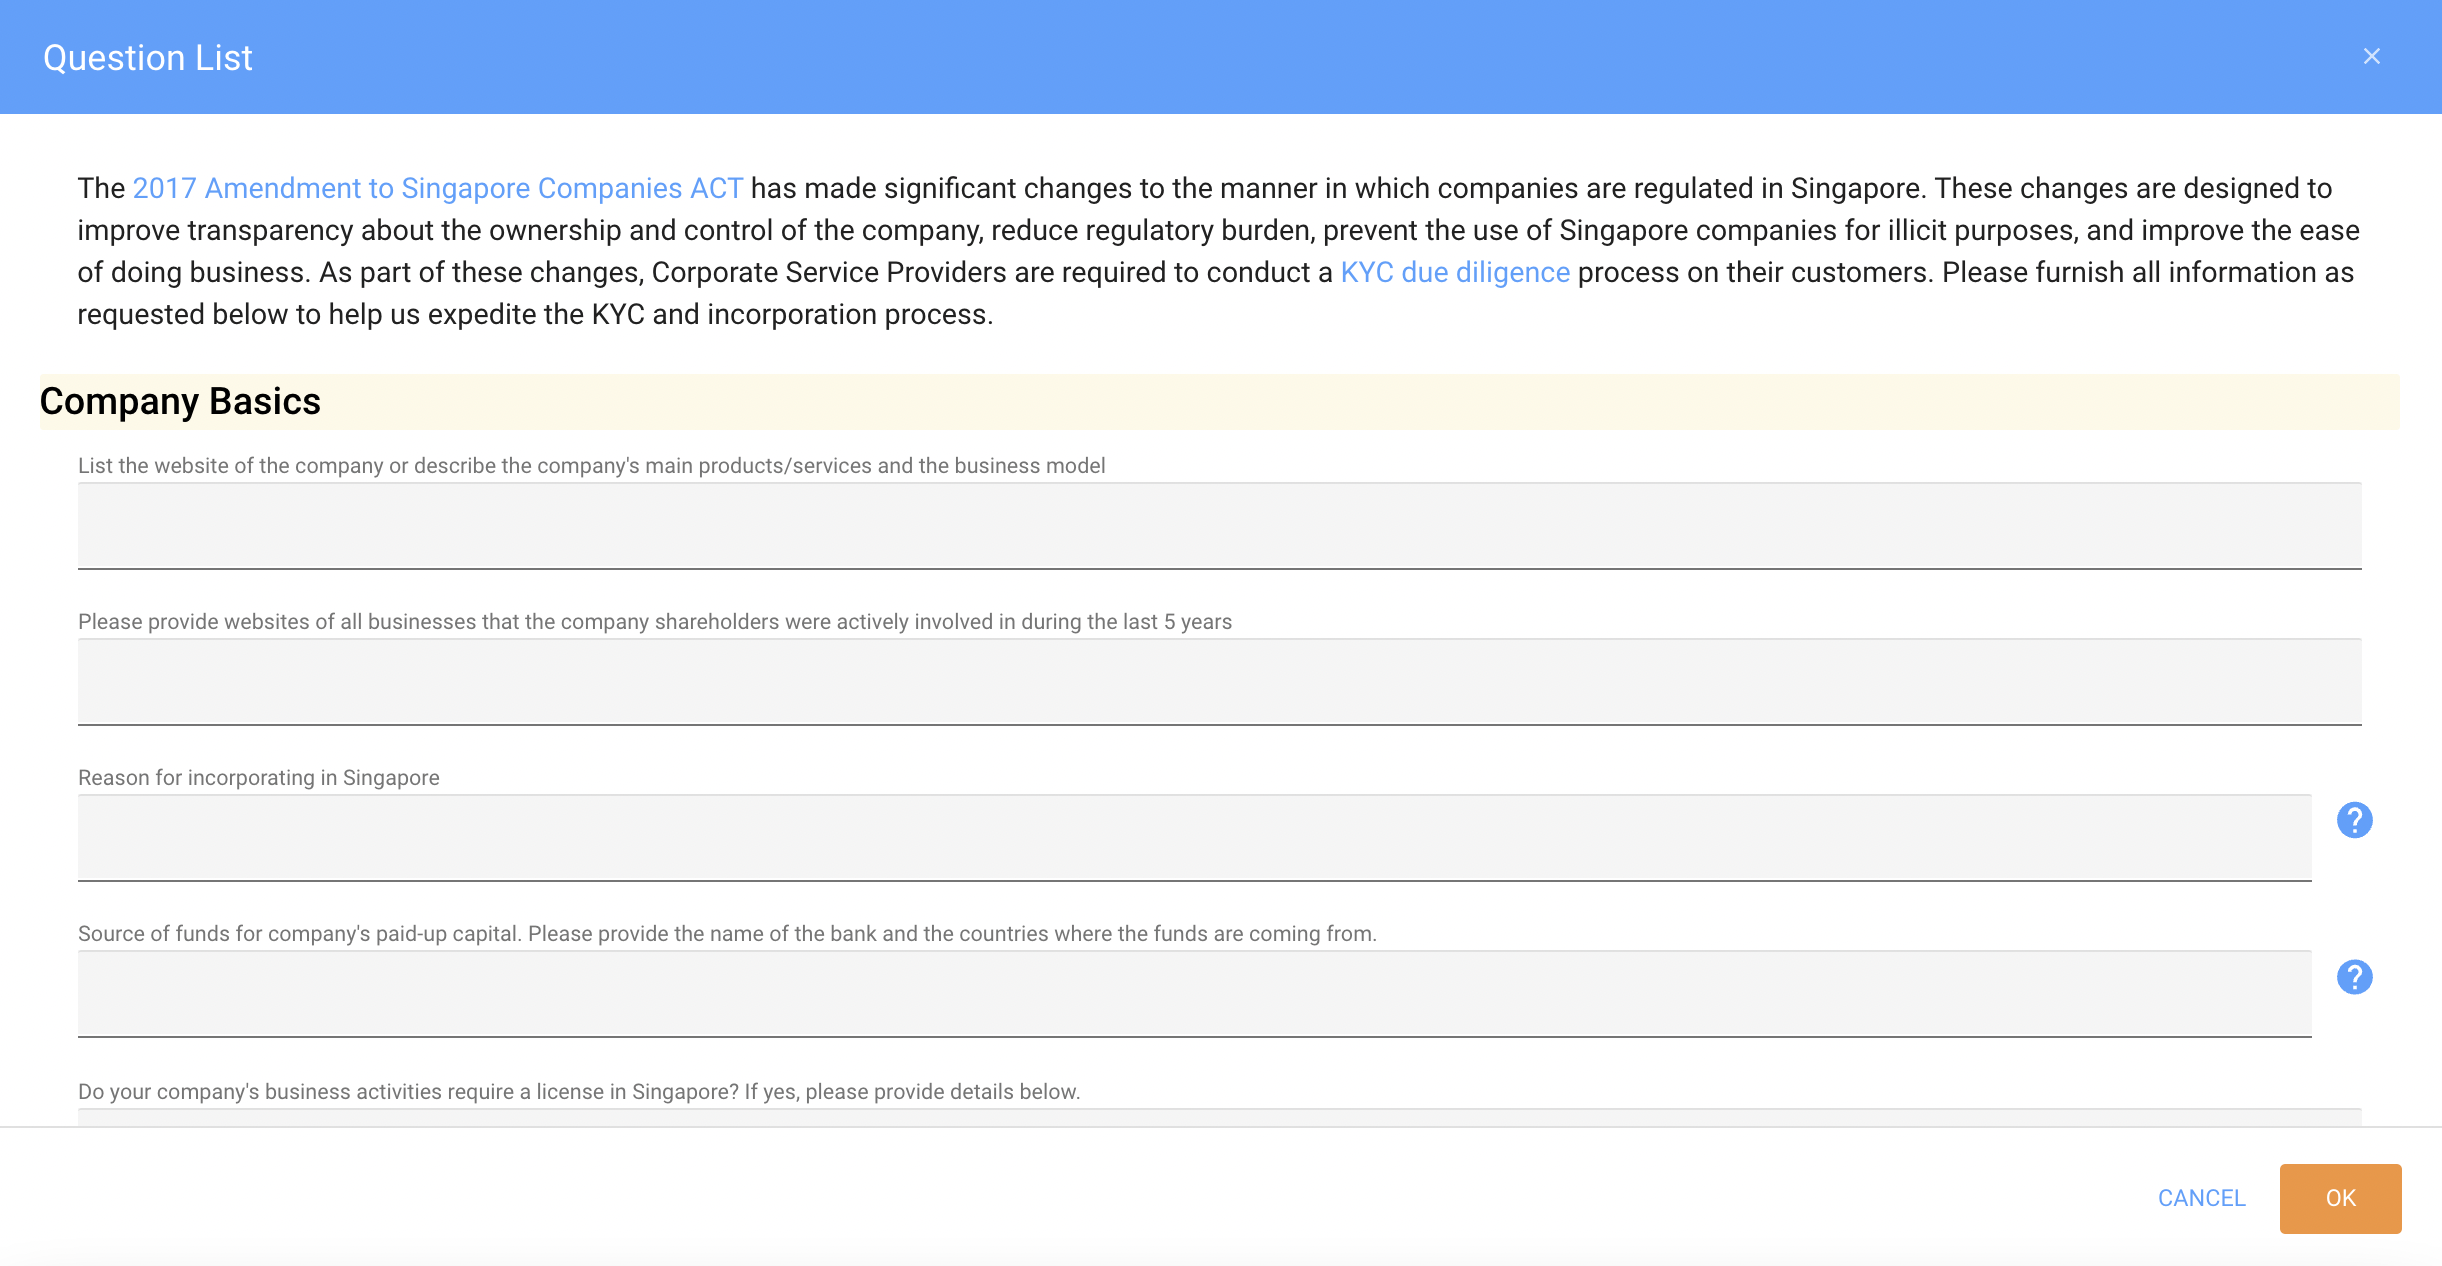
In the Questions List window, provide the information in the Company Basics; Political Exposure, Money Laundering, Fraud; Business Plan; and Business Transactions sections.
Use the CHECK FOR COMPLETENESS button located below the KYC Questionnaire section to make sure that you have provided all the information that is required to incorporate your company. The system will show you the list of missing information if any.

How To Submit
When you are done with the form and are ready to send it to us, click the SUBMIT button on the toolbar above the form. You can also SAVE the form and come back to it later.
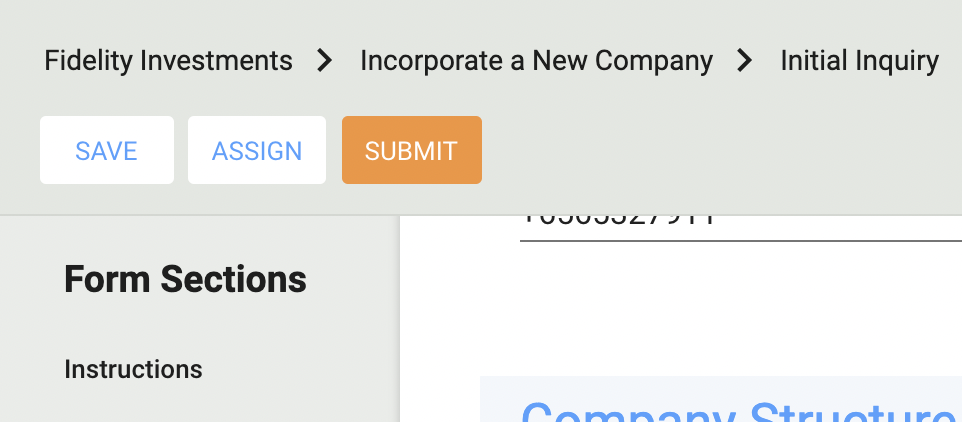
When you Submit a form, if appropriate, a text field will be displayed for any comments you may want to provide. You can enter your questions and comments in this field, and they will be added to the communication history. After you submit the request, you will see a confirmation screen. This tells you that your request was assigned to our staff.
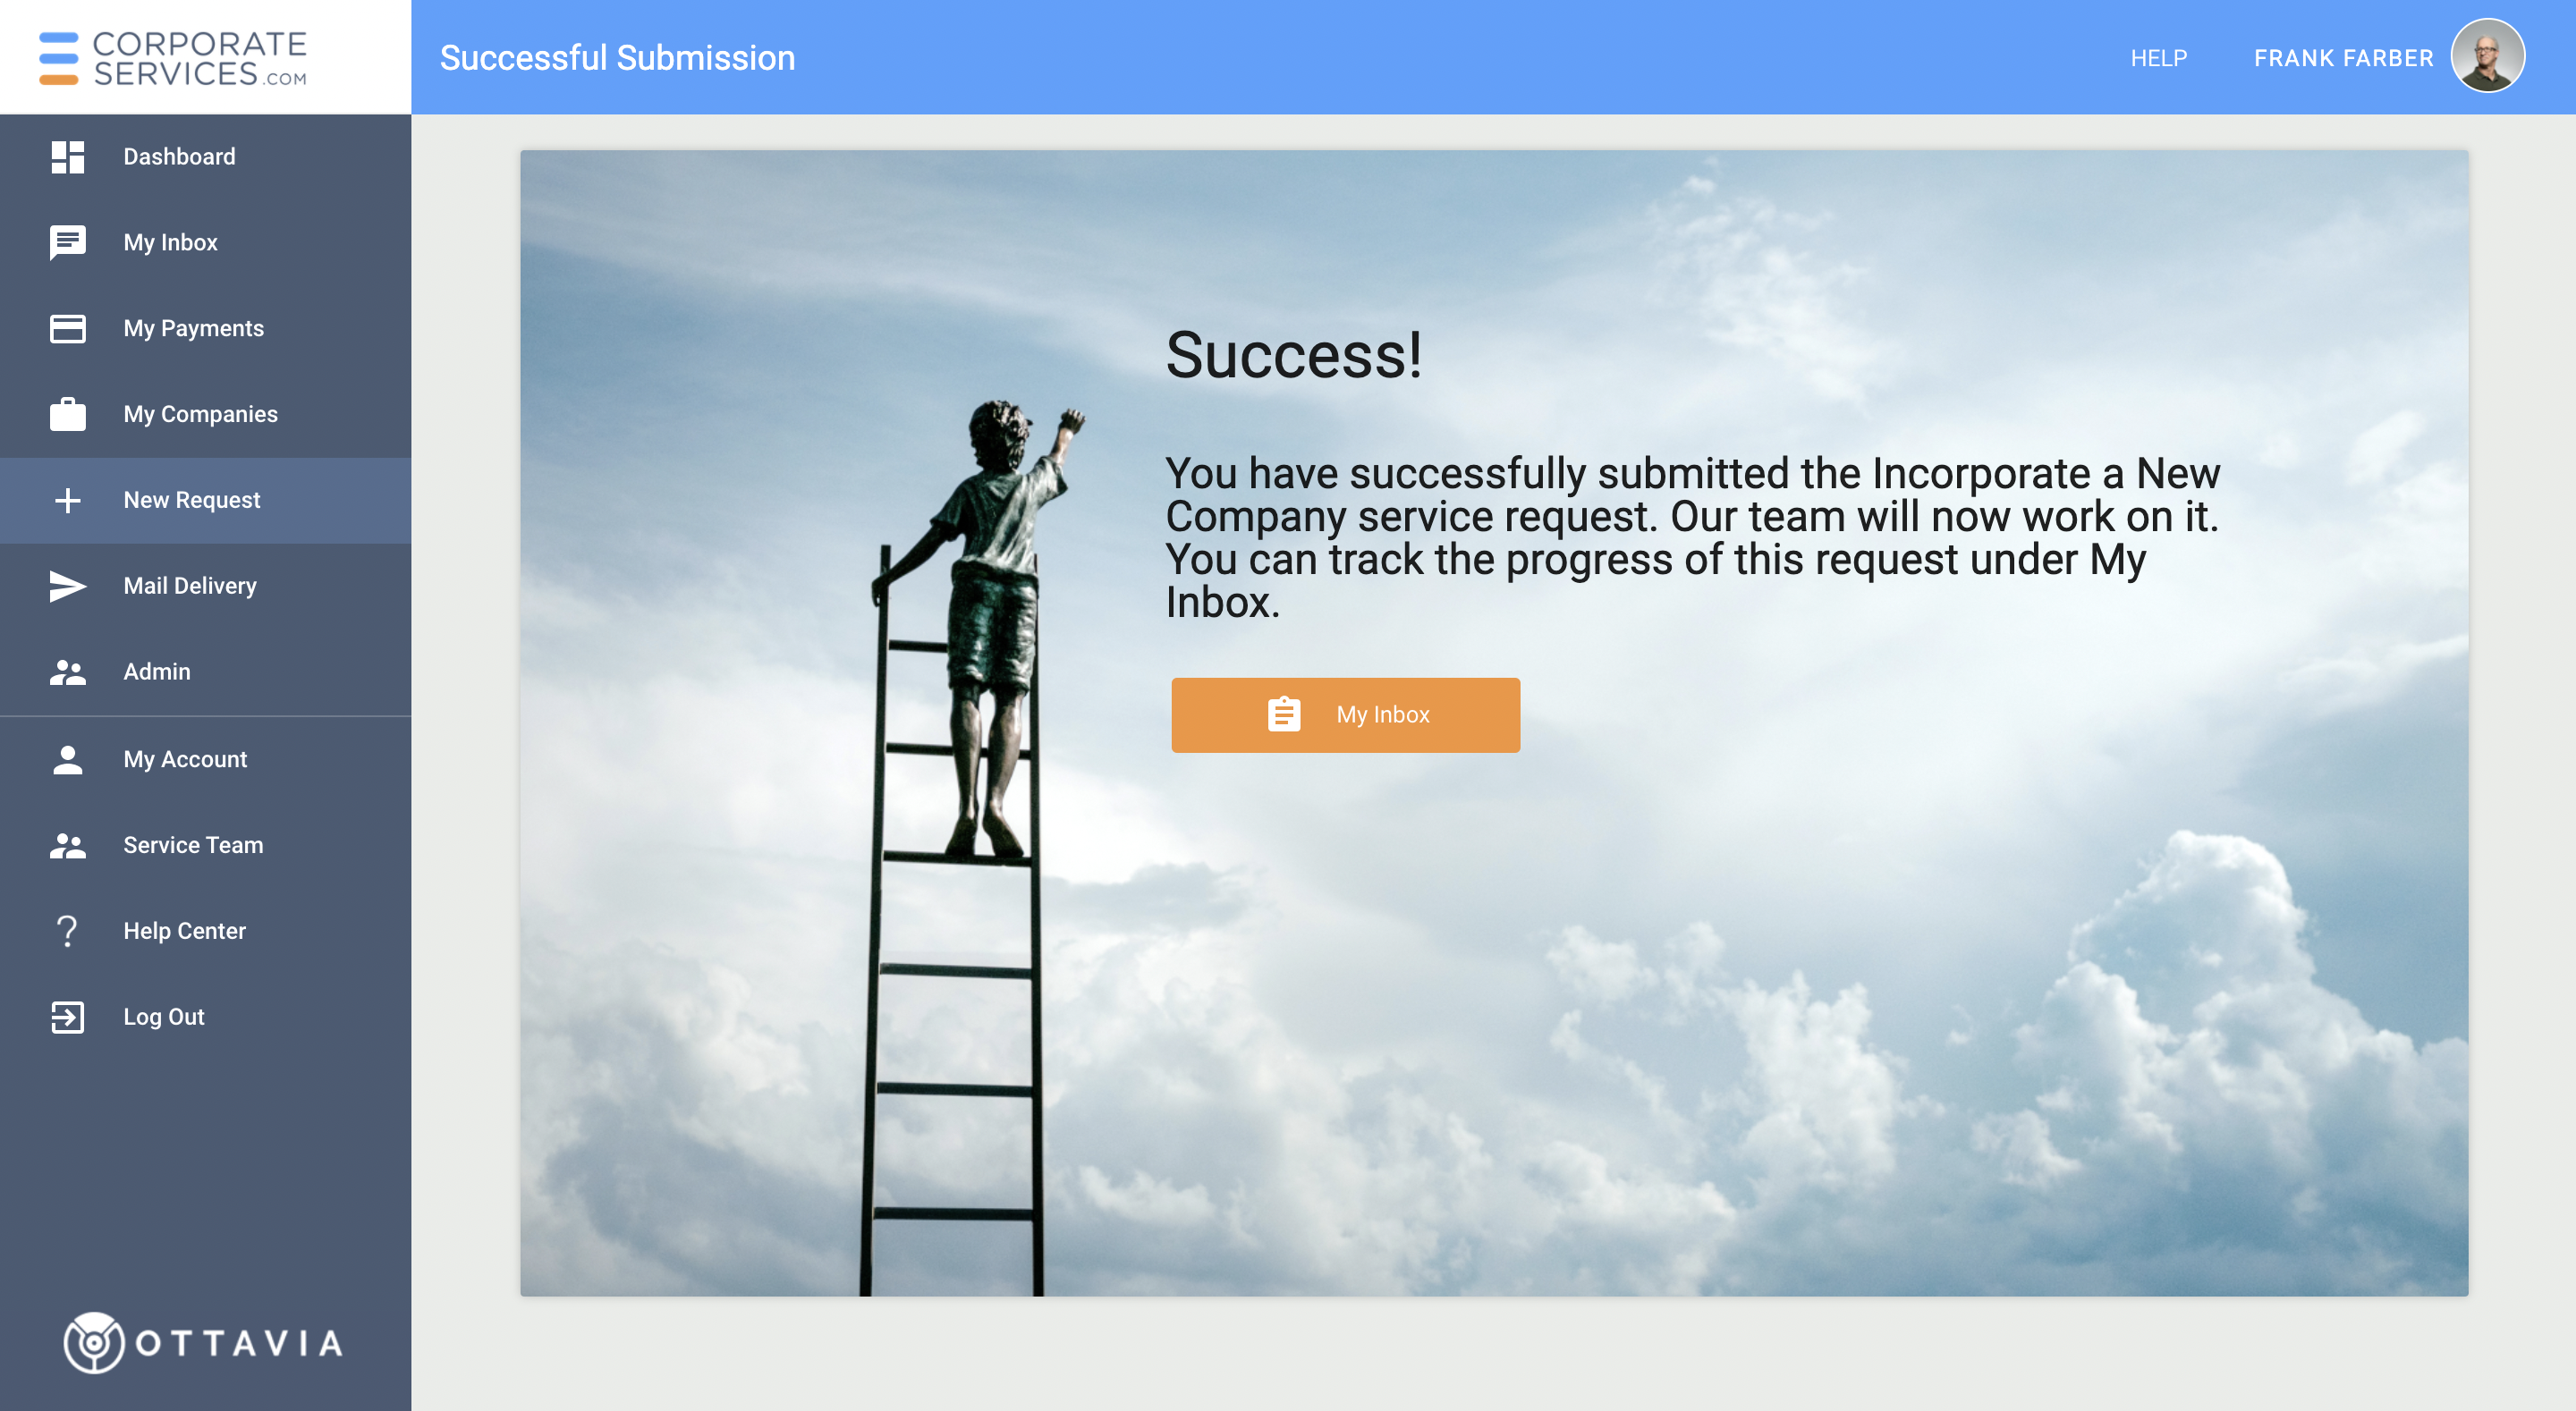
You can monitor the status of your service request from the My Inbox page in the left navigation menu.
Staff Review Step
After you submit the request, a staff member will carefully review the information you provided in your initial inquiry. The staff member will answer your questions (or provide additional instructions) in the Messages icon. If anything is not clear to the staff member, (s)he may ask you questions. Click here to learn more about how to communicate with the staff in CSP. When the request is assigned back to you, you will be notified by email.
You can also monitor progress of the Request.
Client Review Step
After reviewing your initial inquiry, if we need additional details, the request will be assigned to you. The request will be displayed on your Dashboard with a current status of Your action is required.
Client Review step includes all sections from the previous step and may include additional sections depending on what additional information we need from you. Our staff will provide you with appropriate guidelines in the Messages icon.
Complete Payment
When you are ready to proceed with incorporating your new company, you can complete payment for the selected services.
If you have questions or comments before making a payment:
- Use the
 icon to ask any questions.
 - When the staff member responds to your questions, you will receive a reply in the Messages icon.
If you are ready to make a payment:
- Click the MAKE PAYMENT button on the top bar.
- You will be redirected to My Payments page.
If you need help with making the payment, read How to Make a Payment to learn more.
Prepare KYC Summary step
In this step, the system will generate ‘KYC Summary’ documents and staff user will be required to review them for accuracy and completeness.
Sign KYC Summary step
The listed signatory will be required to electronically sign the ‘KYC Summary’ document sent on the e-mail.
To read more, check Signing Documents Electronically.
Review Signed KYC Summary step
In this step, the staff user will need to review signed ‘KYC Summary’ documents.
Apply for Company Name
In this step, we will apply for your company's name with ACRA in the order they are listed. If none of the provided names are available, the service request will move to Provide Clarifications step. You will be asked to provide additional names for your company.
Provide Clarifications
Check the Messages icon to review any comments from the staff member.
You will also see a summary of the information provided under the Incorporation Application section. Click on Initial Application Summary.pdf to view the document (ensure you have a pop-up window enabled in your browser), or click  icon to download the summary to your computer.
Provide the information requested and submit the service request to the staff member.

Prepare Incorporation Documents
In this step, the staff member will configure the documents that are necessary to incorporate the company.
If in the Incorporation Inquiry service request, you selected Employment Pass Application service, the staff member will launch the Apply for Employment Pass service request. It will appear in the list of your Active Service Requests.
Read more about the Employment Pass Application service request.
The system will generate the documents that are necessary to incorporate the company. The staff member will review the records for accuracy. After the review, the staff member will send the service request to you to sign the documents.
Sign Incorporation Documents Step
In this step, the signatories will be requested to verify their identities and electronically sign the documents.
Learn more about how to Verify Identity of Signatories and to Sign Documents Electronically to complete this step.
You are not required to do anything on the service request form. If you have any questions, you can ask them in the Messages icon and click the REQUEST ASSISTANCE button. Your communication with the staff member will not interfere with the document signing process.
The request will automatically move to the next step after all signatories verify their identities and sign the incorporation documents.
Review Signed Documents Step
The staff member will review the signed documents for accuracy.
If the staff member requires additional information, the request will be moved to the Sign Incorporation Documents step.
Once all the signatures are in order and the identity of each person has been verified, the service request will move to Incorporation in Progress step.
Incorporation in Progress
In this step, the staff member files all the incorporation information about your company with ACRA. Once the company is incorporated, the staff member downloads the electronic certificate of incorporation and your company's ACRA Business Profile report from ACRA.
Once the company is incorporated, the service request is moved to the Prepare EGM Documents step.
Prepare EGM Documents
In this step, the staff will select the Chairman for the EGM and configure the signatories for EGM documents, such as EGM Attendance List, First Board Resolution, Minutes of EGM, etc.
Once the selections are made, the system will generate the necessary documents to incorporate the company. The staff member will review the documents for accuracy. After the review, the staff member will send the service request to you to sign the documents.
Sign EGM Documents
In this step, the signatories will be requested to sign the EGM documents electronically. They will not be asked to verify their identity if they already did so on the previous Sign Incorporation Documents step.
You are not required to do anything on the service request form. If you have any questions, you can ask them in the Messages icon and click the REQUEST ASSISTANCE button. Your communication with the staff member will not interfere with the document signing process.
The request will automatically move to the next step after all signatories have signed the EGM documents.
Review Signed EGM Documents
The staff member will review the signed EGM documents for accuracy.
Once all the signatures are in order, the service request will move to the next step.
Obtain Internal Signatures
On this step, the company assigned Secretary and Director (if applicable) are required to sign the consent documents. This step is internal and will not be assigned to a client user, nor will it require any signatures from the client.
Close Workflow
This is the final step of the Incorporate a New Company service request. The staff member makes a last review of the information and confirms that your company's account is configured for the additional services you have requested.
What Happens Next
Congratulations on the successful incorporation of your new Singapore company!
You can view the complete profile of your company and all its related documents on the My Companies page.
Read more about how to View Your Company's Profile.
The system will initiate a Post Incorporation Follow up and Open a Corporate Bank Account Service requests. These service requests will be assigned to you and will appear in the Active Service Requests section.
Read more about the Post Incorporation Follow Up and Open a Corporate Bank Account service requests.
In addition, all company Controllers will receive a Controller Notice (read how to Sign Controller Notices).
Updated 9 months ago
