
Change Your Profile Information
How to access and edit your user profile on CSP
Your user profile on CSP stores basic information about you, such as your name, contact information, photo, and personal settings. CSP uses this information to drive some of its features. Therefore, you should make sure that this information is accurate.
You must have an account on CSP in order to manage your profileTo view your profile, you must have a CSP account. If you don't have one yet, go to Creating a CSP Account for more information on how to get one.
Accessing Your Profile
You can access your profile in two ways.
From the Left Navigation
- Click on My Account in the left navigation menu.
- You will land on your user profile page.
By Clicking Thumbnail of Your Photo
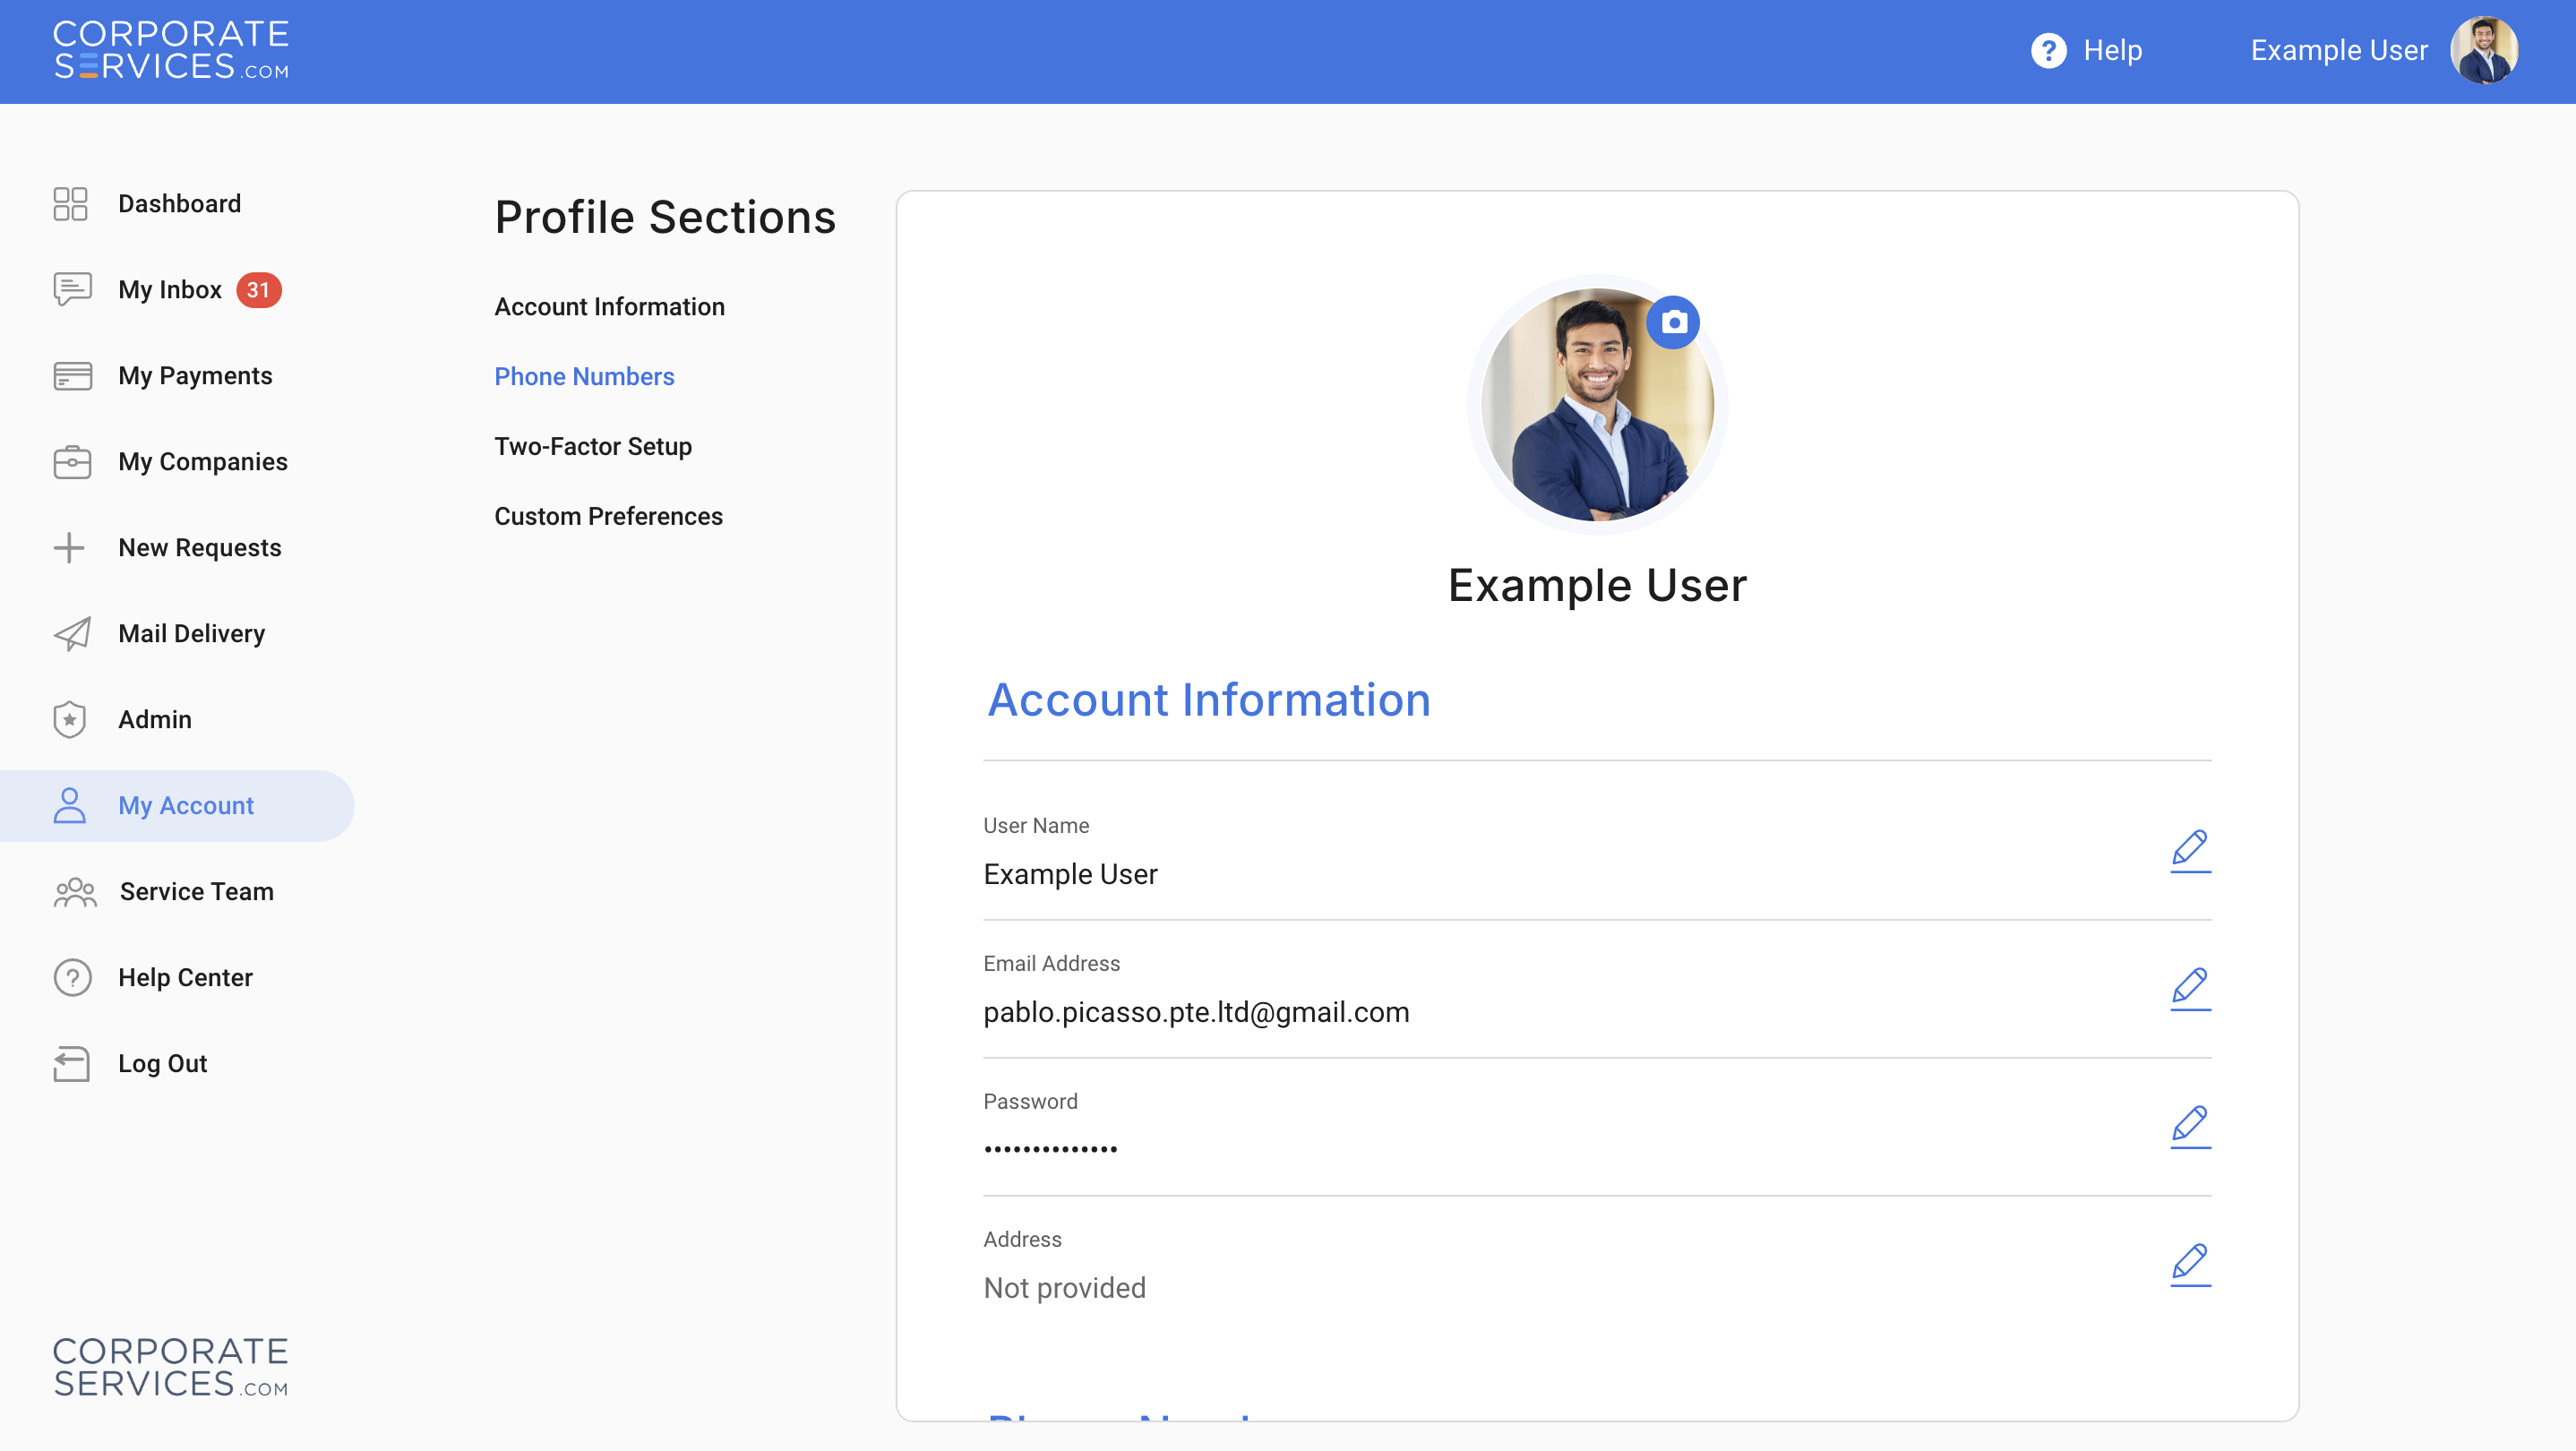
- You can click on your photo thumbnail at the top right corner of the CSP user interface. If you do not have your user photo uploaded yet, you can always upload it to your profile in a few clicks.
- You will be redirected to your profile page, as shown below.
Click on the screenshot shown above to expand itNote that all images in the CSP Help Center documentation can be expanded by clicking on the image. This can be helpful if the image is shrunk from its original size and is not readable without expanding.
Changing Profile Information
Your profile contains information about you. Some of the fields here may be automatically filled out based on the information you provided while registering on CSP. You can complete any missing information or change the current information as described below.
Profile Photo
If you signed up for CSP using your Google Account, your profile photo from your Google Account will be automatically retrieved and uploaded here. If you signed up using an email and password, this photo will be empty.
Remove Photo
To remove an existing photo, click on your profile picture to open the Change Profile Picture window, then click the Remove button. The photo will be removed from your profile.
Upload New Photo
To upload a new photo for your profile, click on your profile picture to open the Change Profile Picture window, then click the Change button and select the photo you want to upload.
Photo suggestionsYour photo file should be less than 2 MB in size. For best results, the photo should have a square shape.
Name
You can change your name at any time. This name will be used within CSP. To change your name, click the ![]() icon. In the opened window enter a new name and click the 'UPDATE' button.
icon. In the opened window enter a new name and click the 'UPDATE' button.
Email
The email field will show the email address that you used while creating your CSP account. You can change your email address at any time by clicking the ![]() icon on the 'Email Address' line, in the opened window, enter a new email address and click the 'UPDATE' button.
icon on the 'Email Address' line, in the opened window, enter a new email address and click the 'UPDATE' button.
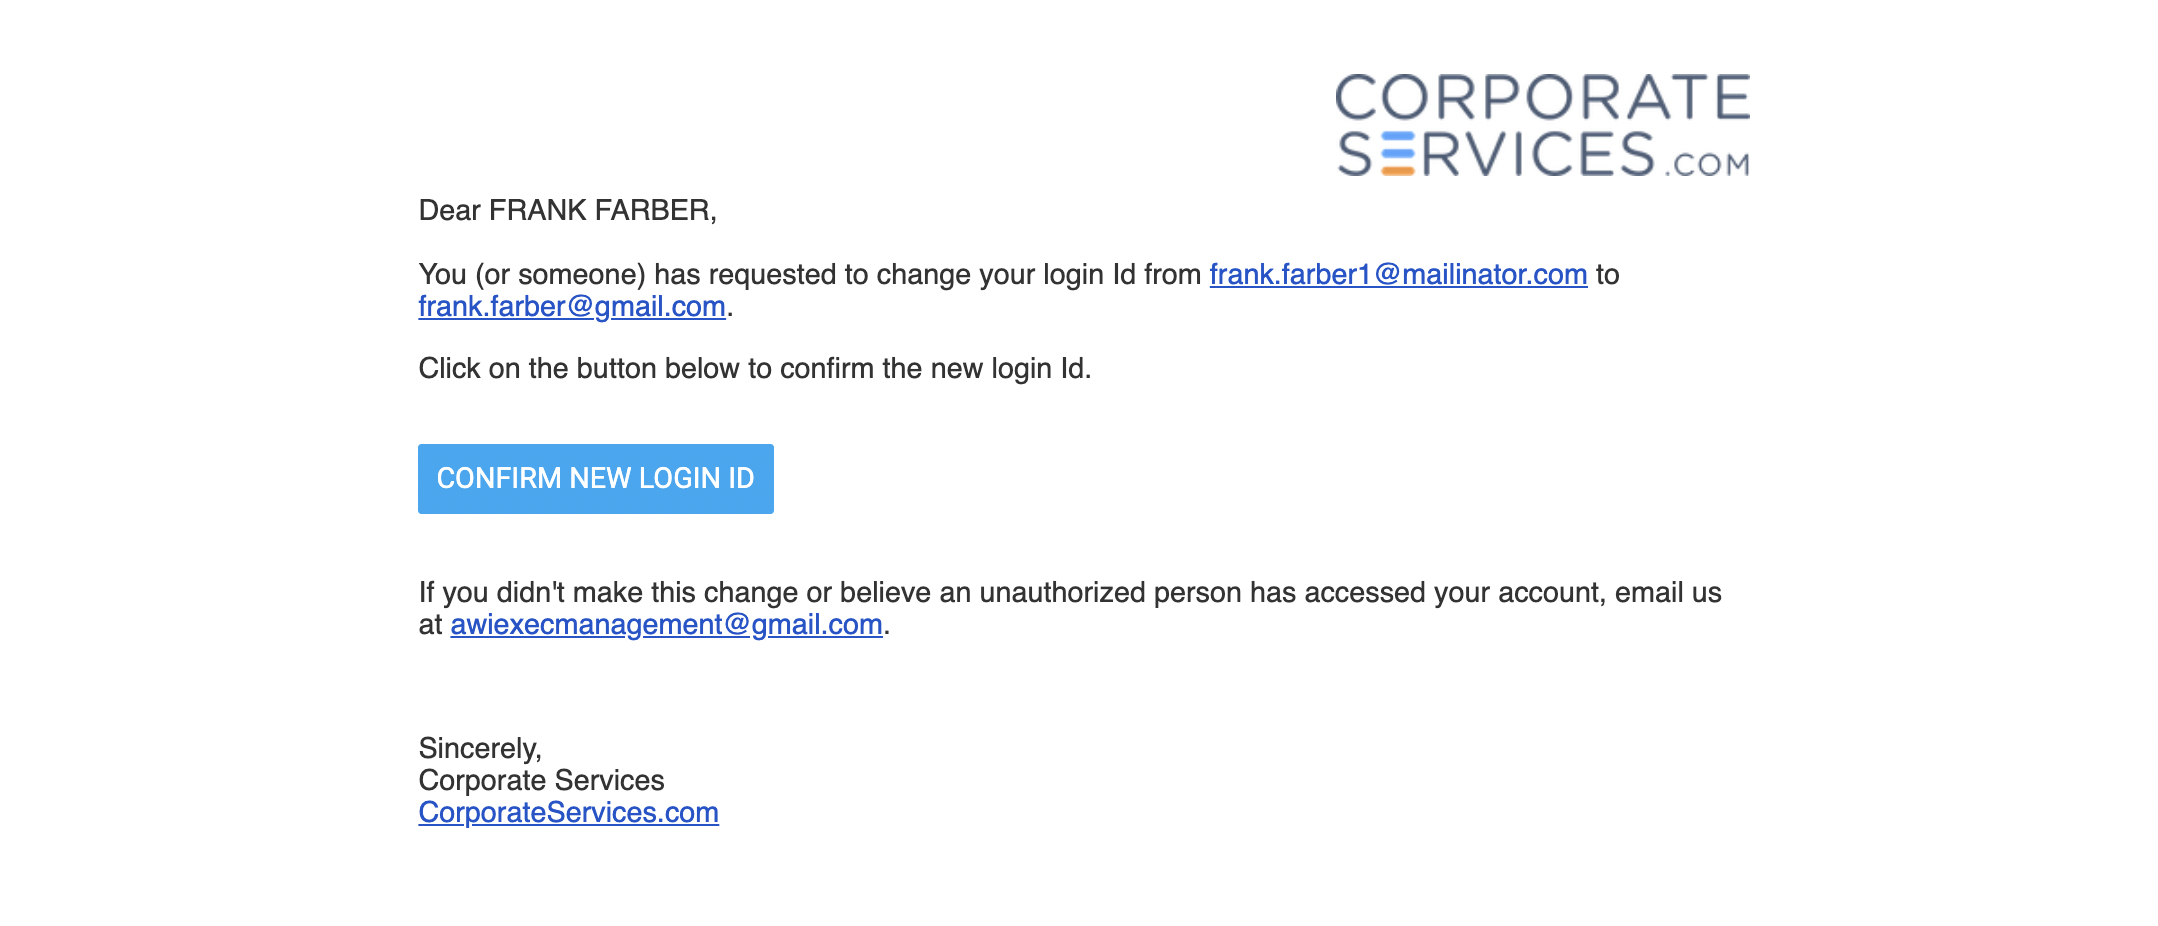
You will receive the following email from the CSP system (see photo above). Make sure to click on the 'confirm new login id' link to confirm the new email address.
Password
To change the password for your CSP Account, click the ![]() icon. In the opened window enter your Current Password and the New Password. Click the 'UPDATE' button.
icon. In the opened window enter your Current Password and the New Password. Click the 'UPDATE' button.
Address
Provide your current address. This address will be used in various legal documents as your mailing address. To enter or change the address, click the ![]() icon. In the opened window use either Google Address search or enter the address manually.
icon. In the opened window use either Google Address search or enter the address manually.
We need your latest contact informationPlease, keep your user information complete and up to date to reach you when it is required. This will help us deliver timely and accurate service to you.
Phone Numbers
Provide the phone number(s) where we can contact you when necessary. To add the phone number:
- In the ‘Phone Numbers' section click on the ‘+ Add Phone Number’ button.
- In the opened ‘Add Phone Number’ pop-up enter the phone number you want to add and click the ‘VERIFY’ button.
- The system will send you a text message with a 4-digit verification code on the provided number. You will need to enter this code and click on the ‘VERIFY’ button.
After this, your phone number will be displayed in the ‘Phone Numbers’ section with a ‘Verified’ text next to it. If you wish to add a second phone number, repeat steps 1-3 above.
Two-Factor Setup
The Two-Factor Authentication will use your verified email and verified phone number(s) to send a One-Time Password (OTP) in order to protect your account with an extra layer of security. It’s important to add and verify your mobile number to [activate the Two-Factor Authentication] (https://help.corporateservices.com/docs/setup-two-factor-authentication).
Custom Preferences
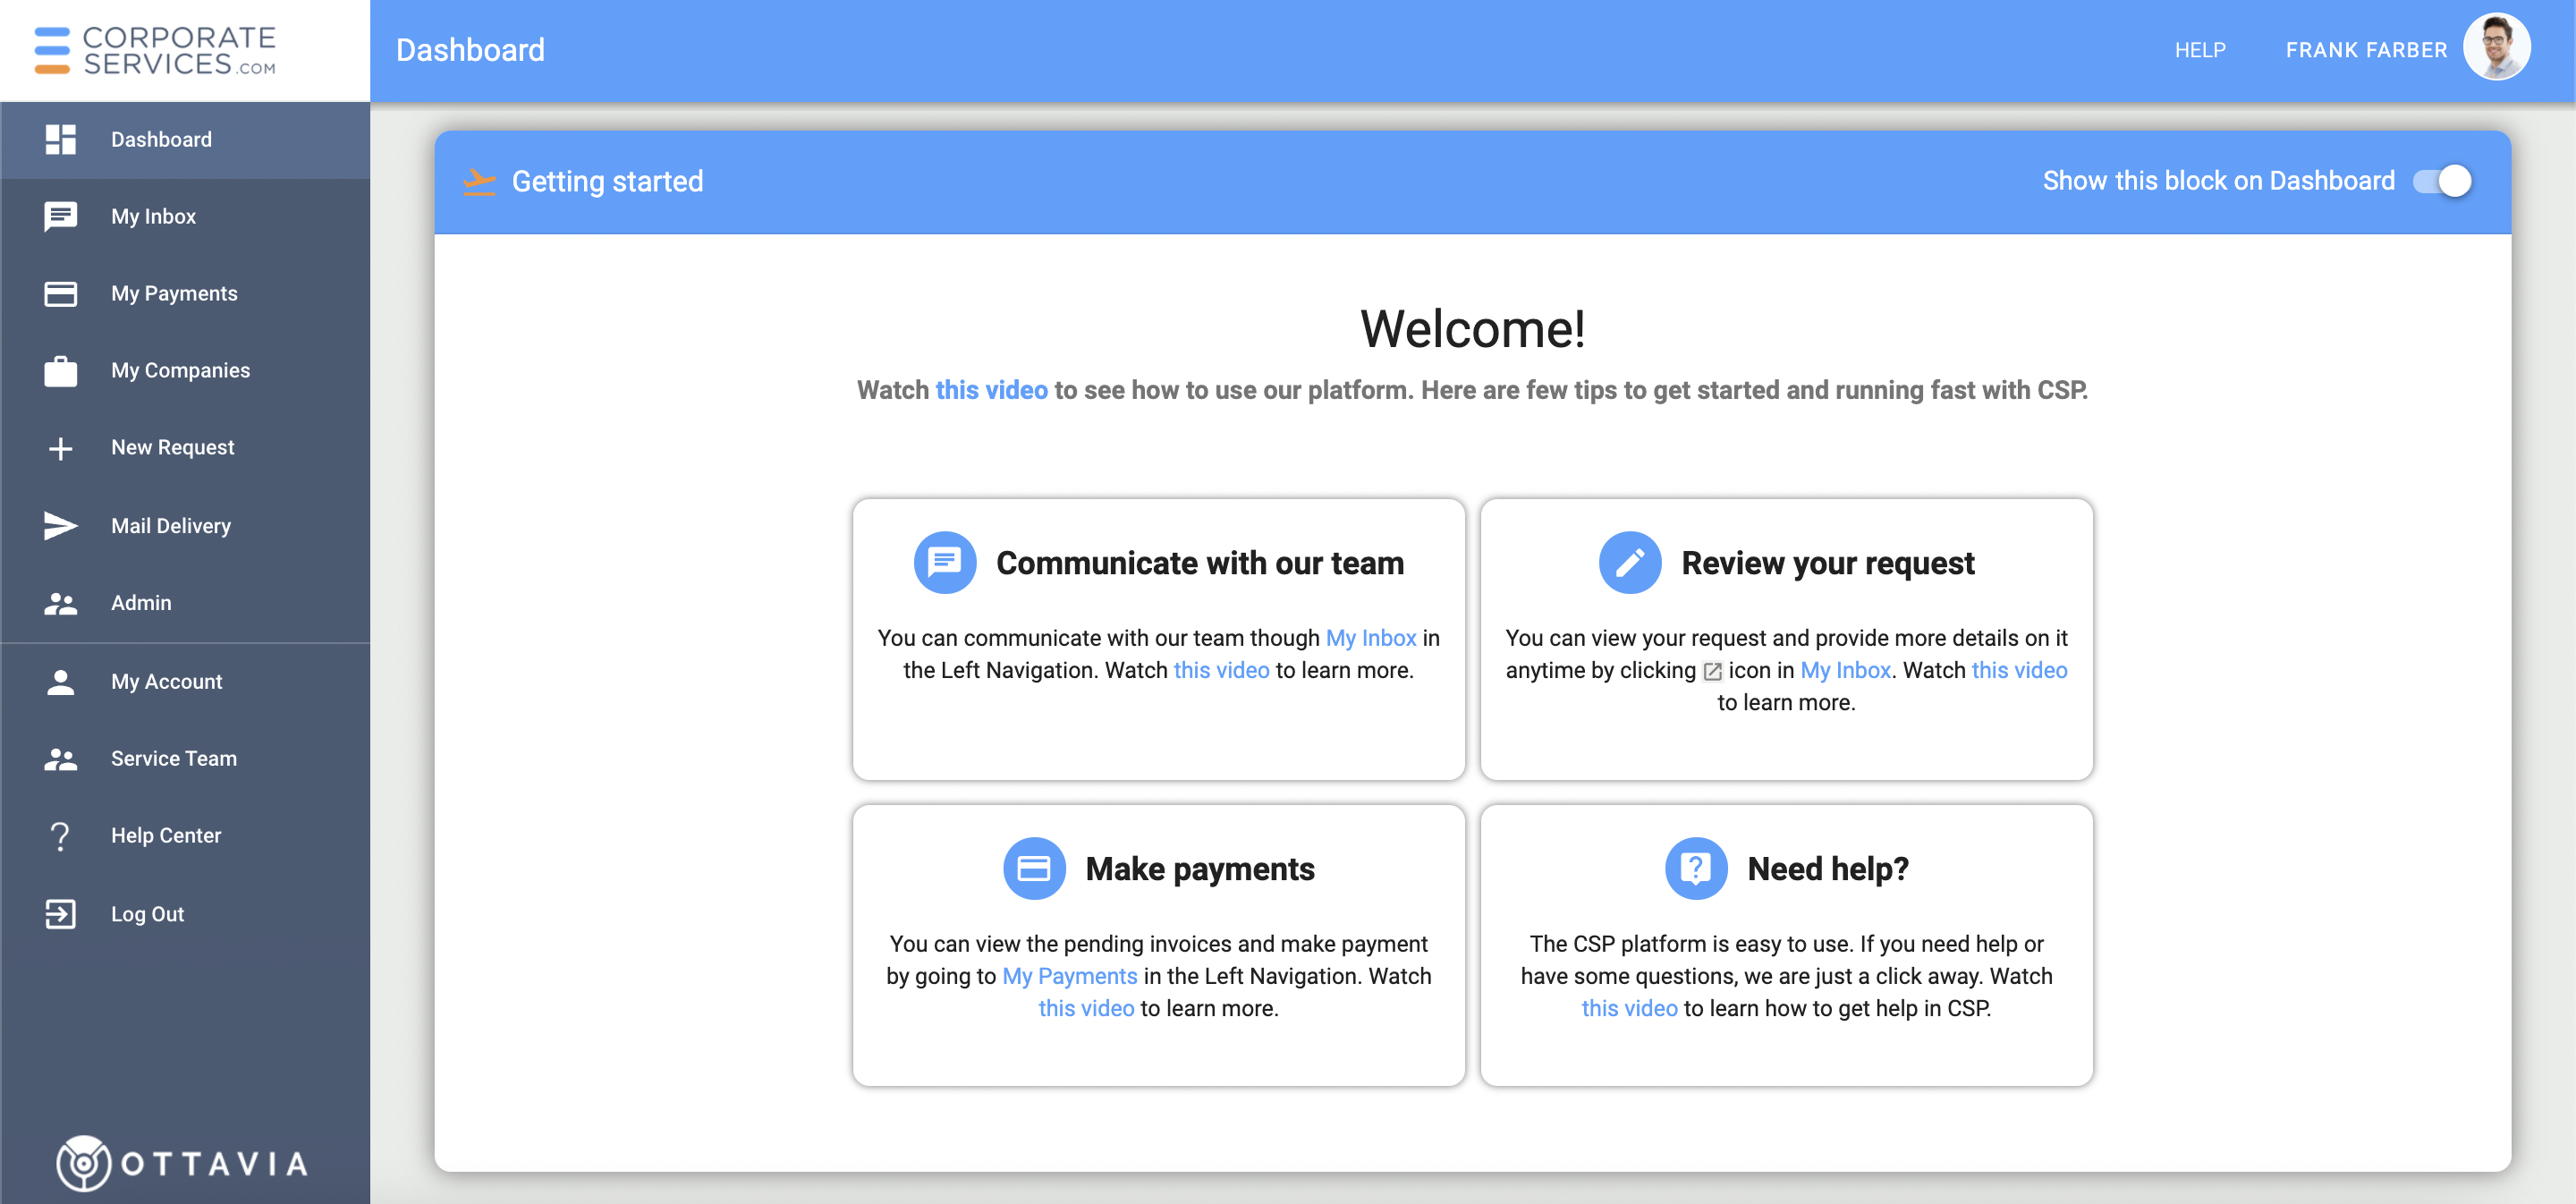
Setting 'Show the 'Getting Started" block on Dashboard' toggle in this subsection to 'on' will display the "Getting Started" widget on the 'Dashboard' page (see pic below).
Updated 3 months ago